During the festival of Navaratri, I usually make something as an offering or prasadam to the goddess every day. In previous years, I have also made a sweet to go along with the sundal, but this year, because I have to go to work in the morning, I have been making only sundals as an offering.
Chana Dal Sundal is made from split chickpeas or chana dal which is healthy and protein-rich. And the best part about sundals is that you can make it in under 10 minutes, which is such a time saver when you are rushing in the morning!

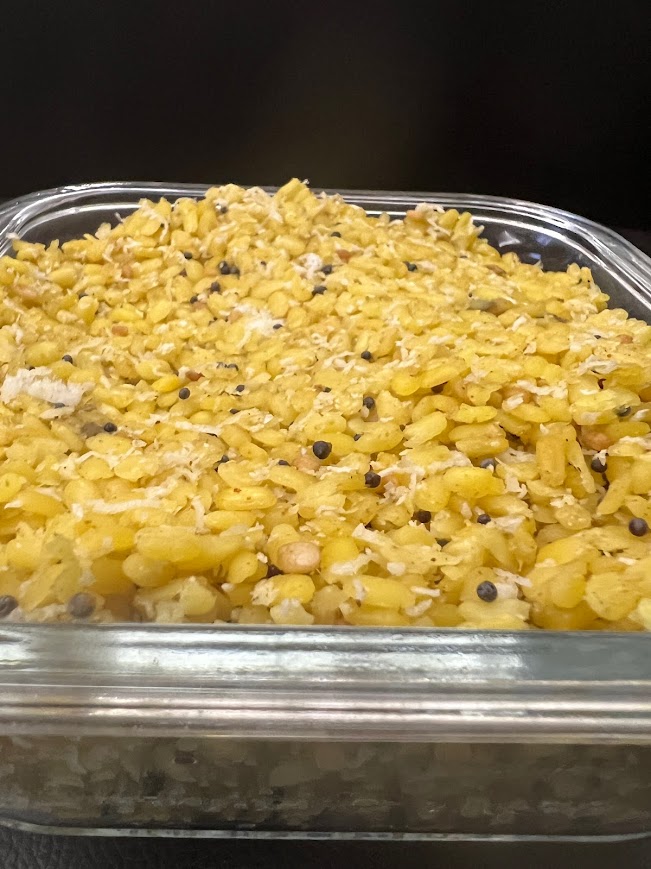
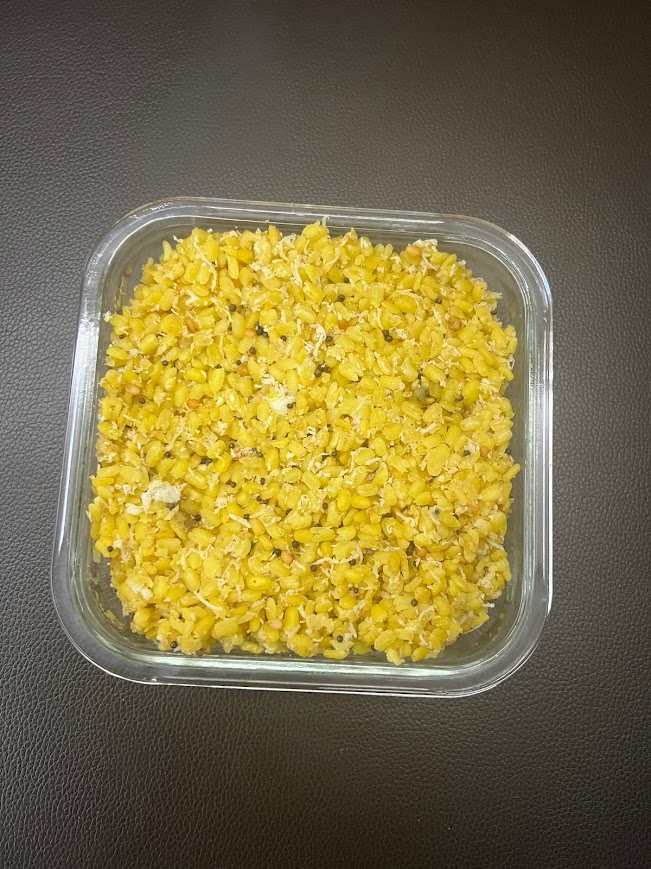
Chana Dal Sundal
Ingredients:
- 1 cup chana dal or split chickpeas
- 2 tbsp oil or ghee
- ½ tsp mustard seeds
- ½ tsp split urad dal
- ¼ tsp asafoetida
- 2-3 dried red chillies, broken into pieces
- 10-12 curry leaves, torn
- 2 tbsp grated coconut, fresh or desiccated
- Lemon juice to taste
- Salt to taste
- Coriander leaves to garnish
Method:
- Wash the chana dal thoroughly under running water, and then soak it in 2 cups of water for 2-3 hours. After soaking, drain the water and set the chana dal aside.
- Cook the chana dal with fresh water and a pinch of salt until it is just cooked. We don’t want it cooked like a dal, just until a piece can get crushed between your thumb and index finger.
- Heat oil in a pan or kadai over medium heat.
- Add mustard seeds and let them splutter. Then add urad dal, asafoetida, dried red chillies, and curry leaves. Sauté for a minute until the spices release their aroma.
- Add the cooked chana dal and salt to the pan. Stir well to coat the dal with the tempered spices.
- Reduce the heat to low and cook the chana dal, stirring frequently, for about 5 minutes.
- Add the grated coconut and stir well.
- Turn off the heat, drizzle with lemon juice and stir well.
- Garnish with coriander leaves and serve hot or cold.
Other Navaratri Sundal recipes: Green Moong Sundal, Green Peas Sundal, Peanut Sundal, Sweet Corn Sundal, Chickpea Sundal