 A couple of days each week, I need to send BB & GG to school with a packed lunch as they have to stay back in school for either CCA or supplementary lessons.
Most days it’s either some sort of stuffed paratha or some sort of rice. So making appropriate accompaniments with that then becomes important.
I made a vegetable pulao recently and was thinking of something to accompany that when I thought of marrying two kinds of raitas to come up with this raita. The Okra or Ladies Finger Raita is a traditional south Indian raita (called pachadi) and we make the Cucumber raita quite often at home. It was surprisingly good and goes very well with any kind of rice or roti.
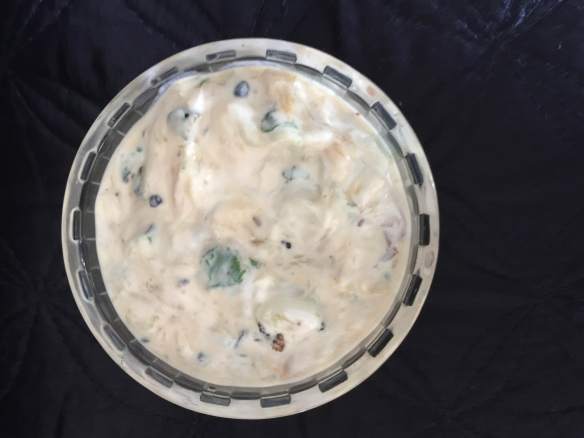
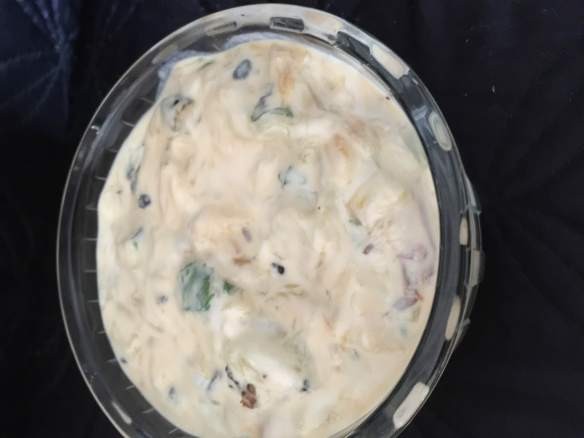
Cucumber and Okra (Ladies Finger) Raita
 Ingredients:
- 2 large cucumbers
- 10-15 okra or ladies finger washed and dried thoroughly
- 2 cups yoghurt, beaten well
- 2 green chillies
- 1-inch piece ginger
- 3-4 tbsps oil
- 1 tsp cumin seeds
- Salt to taste
- Coriander leaves to garnish
Method:
- Peel and grate the cucumber and salt it lightly and keep aside for a while.
- Slice the ladies finger as thin as you can and keep aside.
- Slice the green chillies and ginger finely and keep aside.
- Heat oil in a pan and when warm, fry the chillies and ginger till they are crisp. Remove and keep on some kitchen paper to remove all excess oil.
- In the same oil, fry the okra till it becomes brown and crisp.
- Remove from the pan and put on the kitchen paper to remove excess oil.
- In a large serving bowl, beat the yoghurt and add salt to taste.
- Squeeze the grated cucumber with the palms of your hands to remove all excess water and add to the beaten yoghurt.
- When the fried okra, chilli and ginger are cool, add to the yoghurt cucumber mixture.
- Heat another dry pan, and add the cumin seeds and let them pop. When the cumin seeds are crisp, add them to the yoghurt mixture.
- Garnish with coriander leaves and serve cold.


 Ingredients: