I’m typing this from Yogyakarta, Indonesia where we are for our semi-annual holiday. We’ve been here for just a day now, but I love what I saw so far!
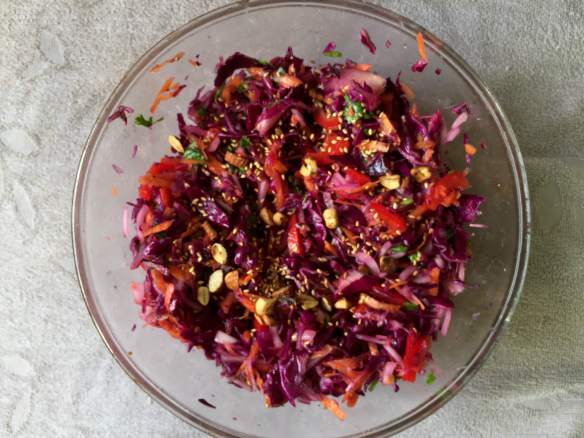
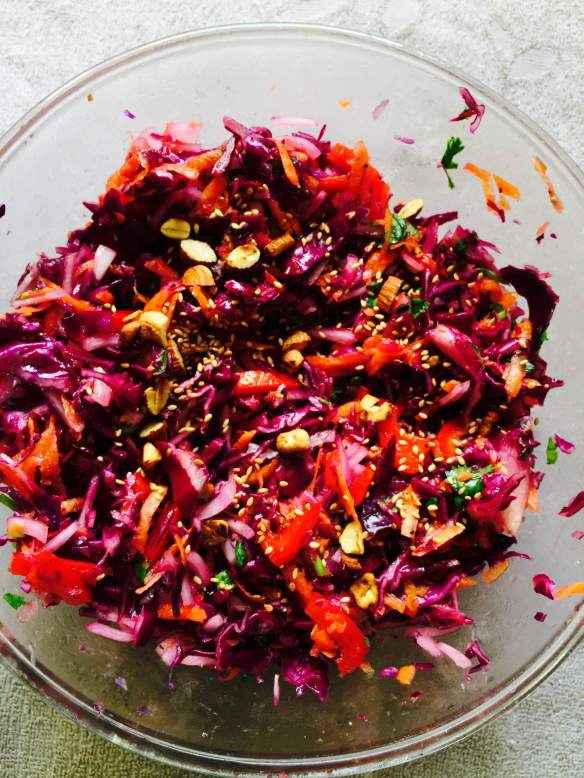
Before leaving, I wanted to finish off the vegetables in the fridge and saw this quarter head of purple cabbage. I decided to make a salad out of this and it was such a hit, I made it three times this week! I experimented with purple cabbage and green cabbage as well as other vegetables, and each variation was superb! Even S who would not eat a salad if he could was raving about it.
This recipe requires a bit of prep work beforehand, but it is completely worth it!
Cabbage Salad
 Ingredients:
- 1 half head of cabbage (I used purple cabbage in this photo, but you can also use green cabbage)
- 2 carrots
- 2 onions
- 1 red bell pepper
- Coriander leaves to garnish
For the dressing
- 3 tbsps extra virgin olive oil
- 3 tbsps lemon juice
- salt and pepper to taste
- a pinch of sugar
- a handful of cashewnuts
- a handful of almonds
- 2 tsps white sesame seeds
 Method:
- Shred the cabbage (you can do this easily using a madolin slicer, otherwise, just shred finely with a knife)
- Grate the carrots
- Chop the onions and bell pepper lengthwise in fine strips
- Chop the cashewnuts and almonds into small pieces or silvers and dry roast them in a pan till crisp. Remove from flame and dry roast the sesame seeds till they are slightly brown and crisp. Let this cool completely.
- Toss and mix the shredded and chopped vegetables well. Add the coriander leaves and keep aside till it’s time to eat. You can pop it into the fridge till needed.
- Around 15-20 minutes before it’s time to eat, remove the salad from the fridge and make the dressing.
- For the dressing, in a small bowl, add all the dressing ingredients – olive oil, lemon juice, sugar, salt and pepper and stir well.
- Pour over the salad and toss well. Add the chopped and roasted nuts and serve.
I also added grated radish to one of my versions, and that too tasted great!

 For the Tahini Paste
  For the Hummus
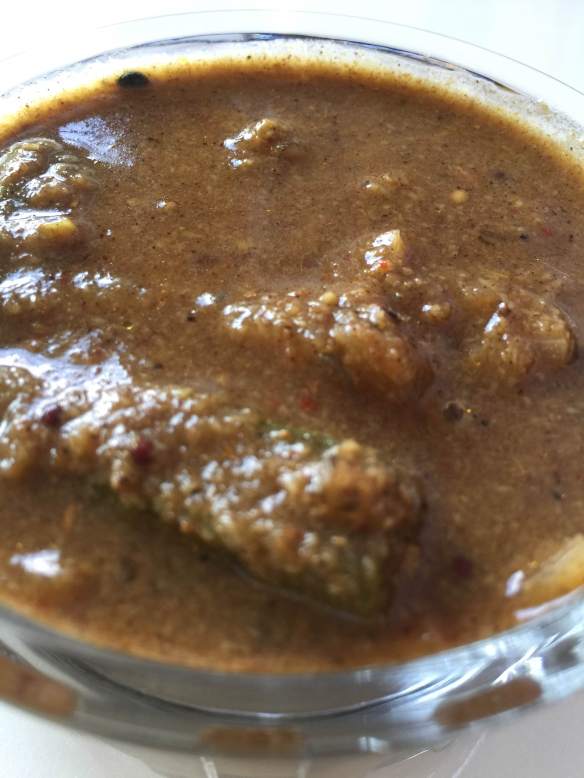
![IMG_5632[2]](https://memoriesandsuch.com/wp-content/uploads/2016/05/img_56322.jpg?w=584) Dal or pulses is the staple of any Indian meal, more so, if its a vegetarian meal as this is the one which supplies the protein to the meal. So every community in India will have their own versions of dal. We also make some sort of dal almost every day, and one of my favourites is this sweet and sour dal from the state of Gujarat. This dal is quite simple to make and uses ingredients found in the pantry. For non-Indians reading this blog, the dal I used can be brought from any Indian store or any supermarket which sells grains.
Dal or pulses is the staple of any Indian meal, more so, if its a vegetarian meal as this is the one which supplies the protein to the meal. So every community in India will have their own versions of dal. We also make some sort of dal almost every day, and one of my favourites is this sweet and sour dal from the state of Gujarat. This dal is quite simple to make and uses ingredients found in the pantry. For non-Indians reading this blog, the dal I used can be brought from any Indian store or any supermarket which sells grains.![IMG_5633[1]](https://memoriesandsuch.com/wp-content/uploads/2016/05/img_56331.jpg?w=584)
![IMG_5634[1]](https://memoriesandsuch.com/wp-content/uploads/2016/05/img_56341.jpg?w=584)