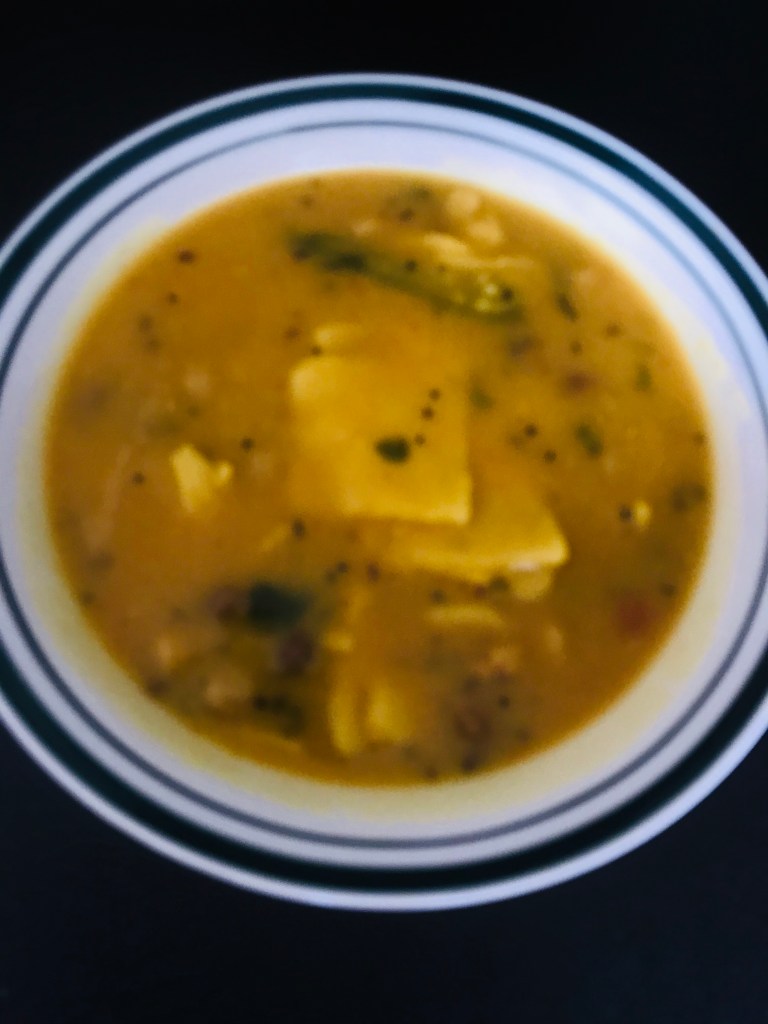
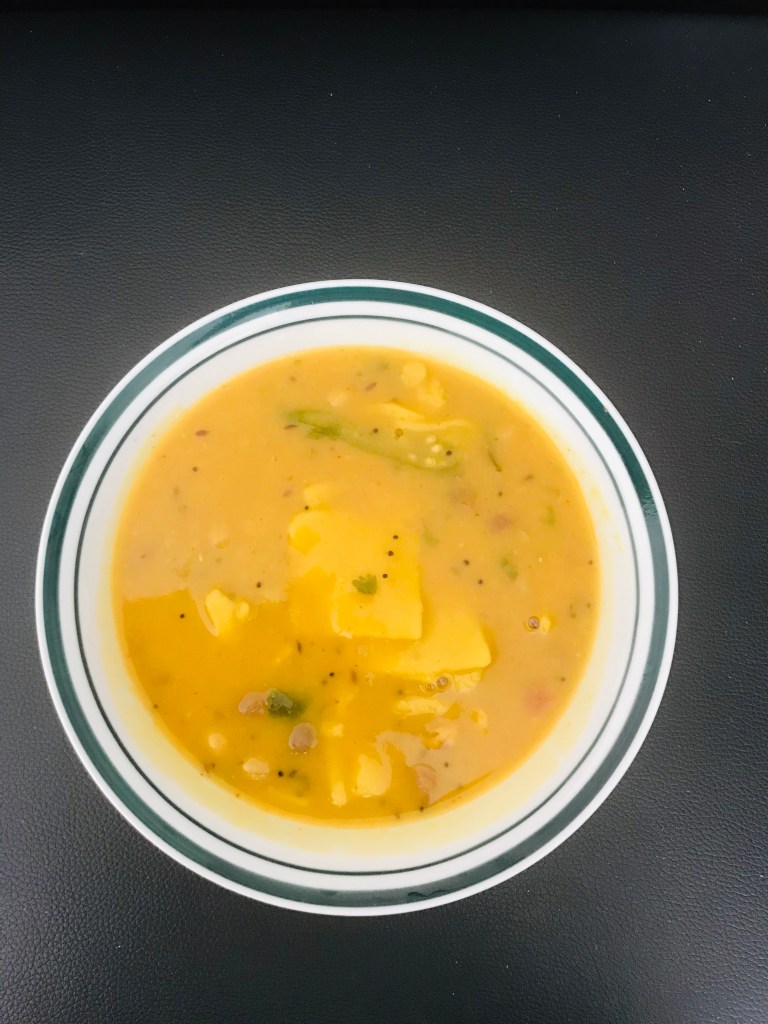
A very simple traditional recipe which does not take much time to prepare, I made this payasam the day after Avani Avittam, when S and BB had to say the Gayatri Japam 1008 times. It is traditional to make a sweet on this day, and since I didn’t have much time in the morning, I decided to go with this simple and tasty sweet dish.

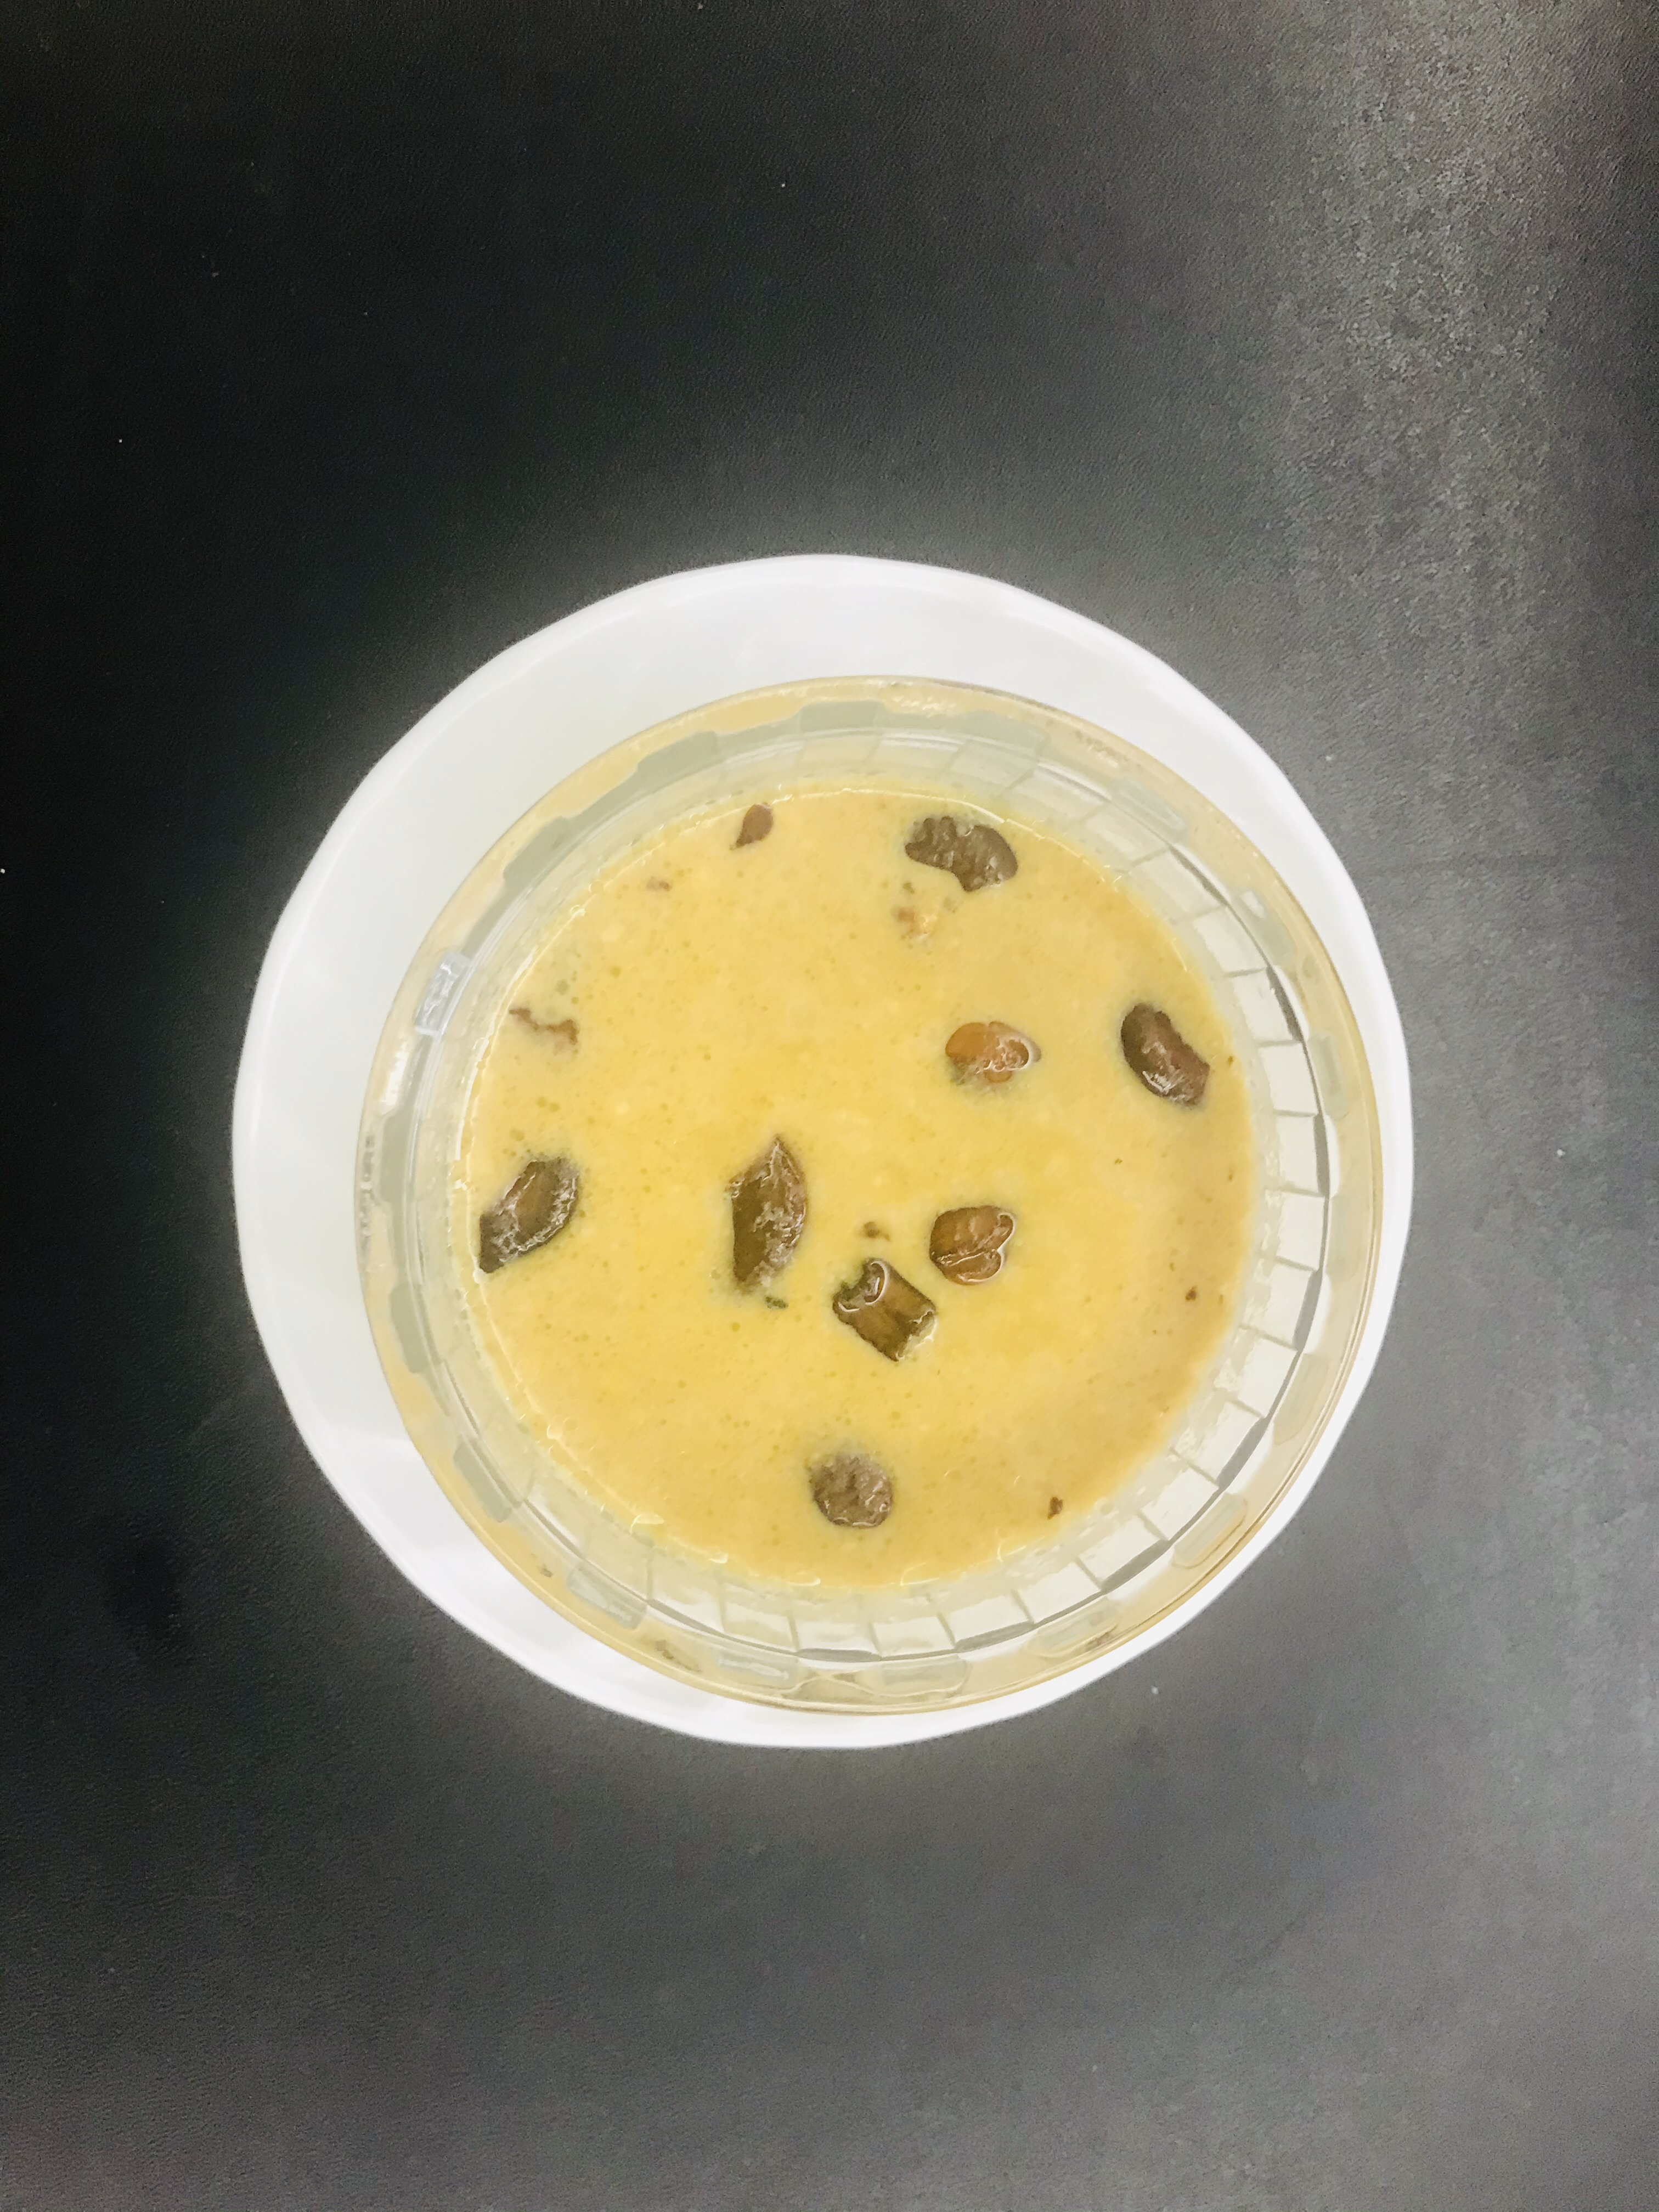
Paruppu Payasam
Ingredients:
1 litre milk, boiled and cooled
1/3 cup moong dal
10-15 cashewnuts, halved
¼ to ½ cup powdered Jaggery or brown sugar
1 tbsp ghee
1/8 tsp cardamom powder
Water as required
Method:
Heat a pan and once the pan is warm, dry roast the moong dal till you get a a lovely fragrance. Make sure you don’t over-roast it and burn it. Remove from the pan and keep aside.
Fry the cashewnuts in the ghee until they are nice and brown and keep aside.
In a small pressure cooker or a container which you can put inside the cooker, mix the roasted moong dal with some milk and water and pressure cook it for some 3-4 whistles. Open the cooker when it cools down and lightly mash the dal.
If you are doing this on a stove top, the method is the same, only keep an eye on the dal when it is cooking and top up milk or water as needed and then lightly mash the dal.
Once the dal has been mashed up a bit, add in the powdered jaggery and mix well.
Put this back on the flame and then add the balance boiled and cooled milk and cook on a low flame for another 5 minutes until the milk, dal and jaggery gets completely mixed together.
Now sprinkle the cardamom powder and the fried cashewnuts along with the ghee.
Do a taste test and serve hot or cold. If you are making this as an offering, then of course, you can’t taste it. We prefer eating this cold as I feel this enhances the taste, but this is personal preference.
You can also make this with only milk to get a richer taste. Also some people use coconut milk plus normal milk, but I don’t make this version.