My Chutney series continues….
 Last week, while making dosa, a rice-based pancake, we wanted to have a chutney, but were tired of having the usual coconut and tomato chutneys which I usually make. So I decided to experiment and see if I could tweak something we usually make and come up with something else. I decided to tweak my carrot thuvaiyal recipe. It was a hit, with the sweetness of the carrots balanced with the spiciness of the chillies and the tartness of the tamarind.
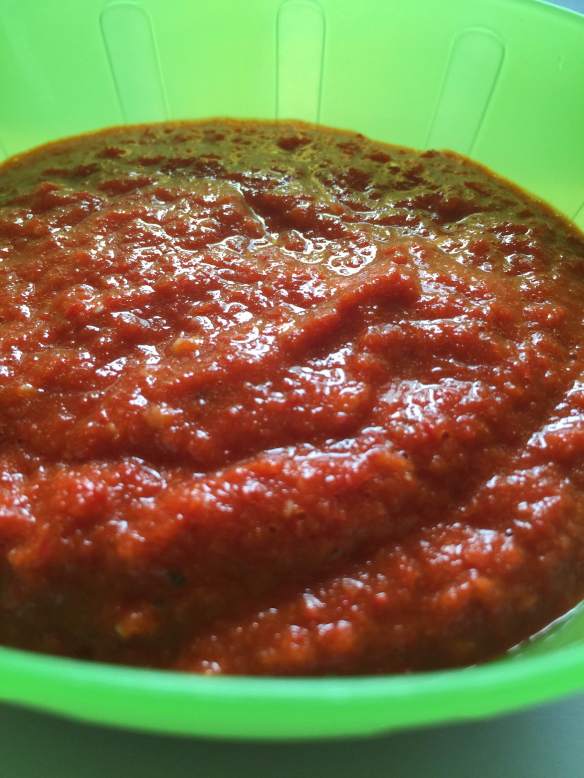
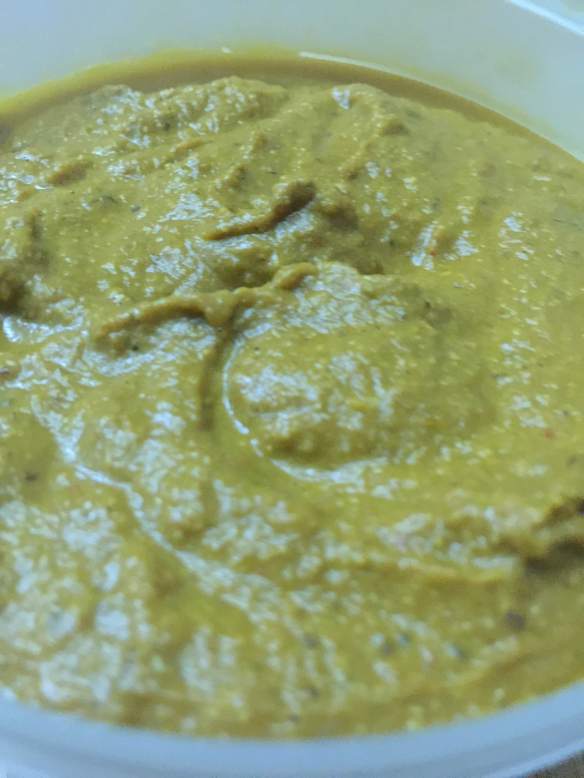
Carrot and Peanut Chutney
 Ingredients:
- 1 cup chopped carrots
- ¼ cup peanuts (soak them in hot water for 20 mins so they soften. Then drain and keep aside)
- 5-6 fresh red chillies (you can use dried red chillies as well as change the amount depending on the intensity of the chillies and your tolerance levels)
- 2 medium sized onions, chopped
- 5-6 pods of garlic
- ½ inch piece of ginger
- 1 small marble-sized ball of tamarind (or 1 tsp of tamarind paste)
- Salt to taste
- 1 tsp oil
- 1 tsp mustard seeds
- 1 tsp cumin seeds
- 1 tsp fennel seeds
- Method:
Heat oil in a pan and when warm, put the mustard seeds, cumin seeds and fennel seeds one by one, stirring it for a couple of seconds each before the next one is put in the pan. - Fry the garlic and ginger for a few seconds each and then add the onions and let it soften and brown
- Add the chillies and fry till it starts to soften and wilt. Then add the drained peanuts and fry for a minute.
- Add the carrots, stir well and add a pinch of salt to help cook faster. Cover and cook until the carrots are well-cooked.
- Once the carrots are completely cooked, remove the pan from the fire and let it cool completely.
- Blend this mixture in a blender or mixture until it becomes the consistency you like. I prefer chutneys to be very fine, but others like a more coarser texture, it’s completely your preference.
- Check for salt and add if needed. Transfer to a bowl and use for idlis, dosas, rotis and even bread!


 Ingredients: