Tamil Brahmin cooking is generally considered to be quite healthy and satvik. In our everyday cooking, onions and garlic are generally not used and there are people even today who can’t stand the smell of garlic being cooked. My grandmother is one of them. When we make anything with garlic, she generally leaves the kitchen and in fact goes to the room furthest away from the kitchen so the smell does not bother her.
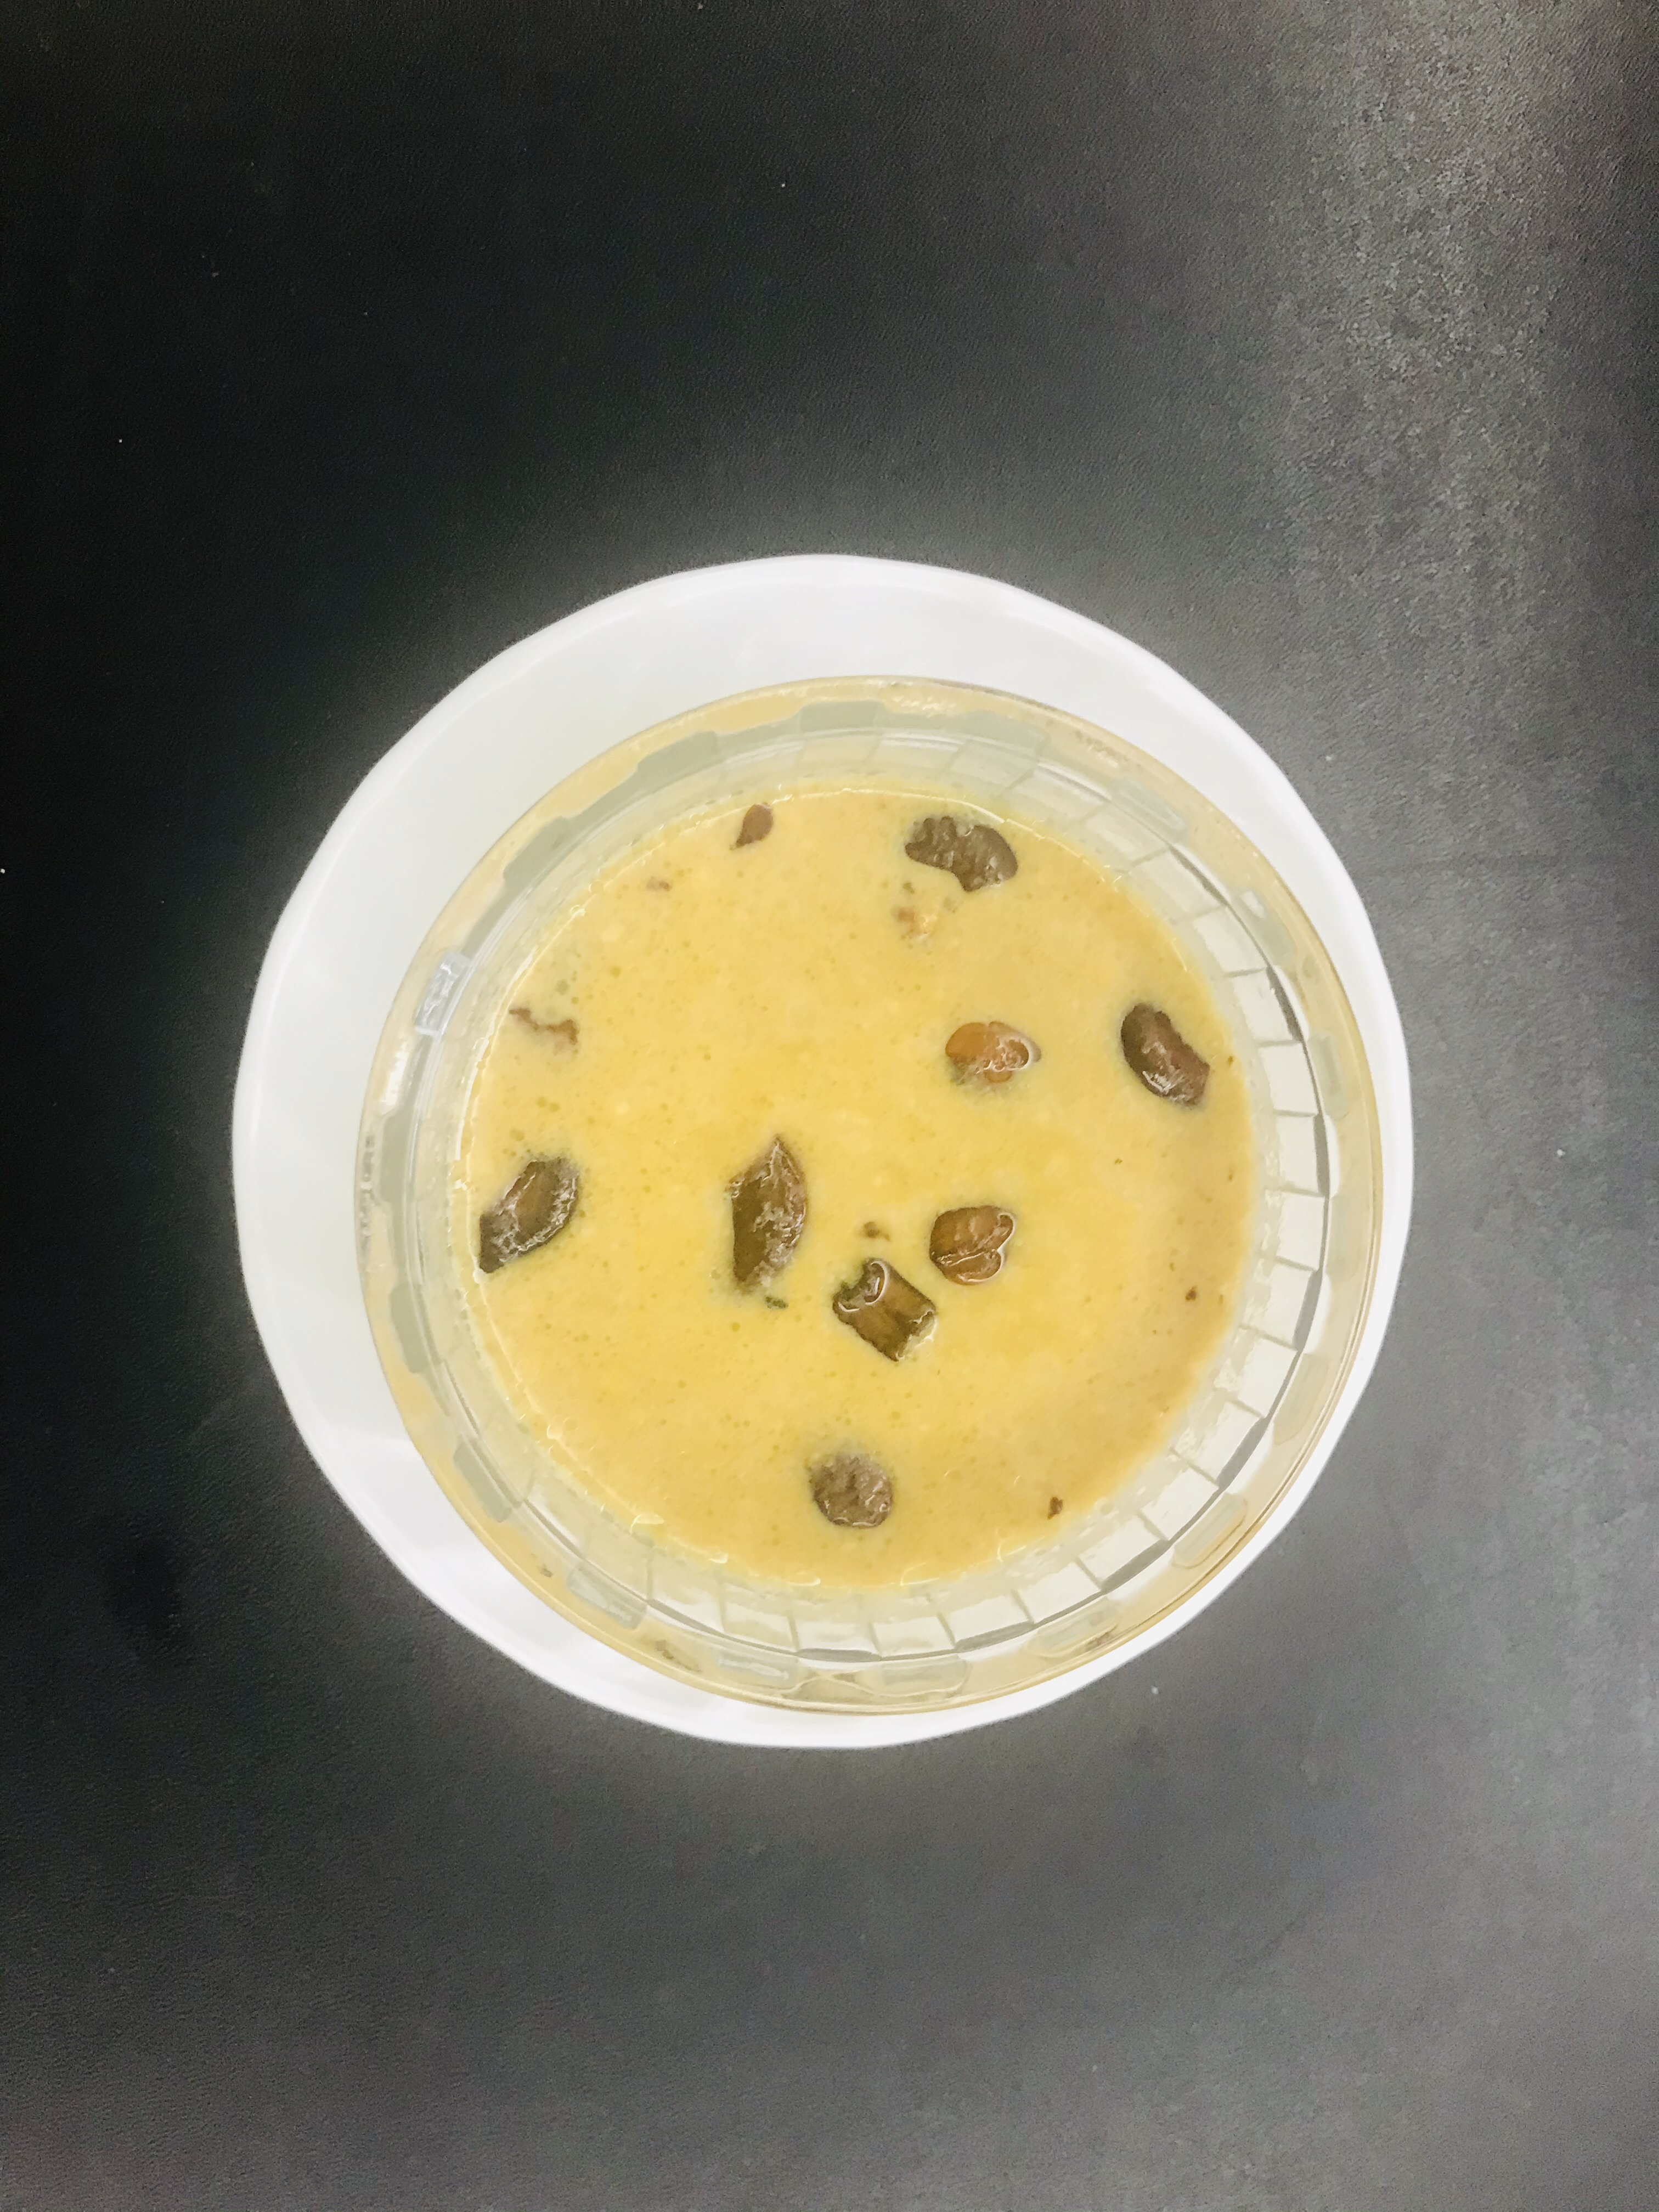
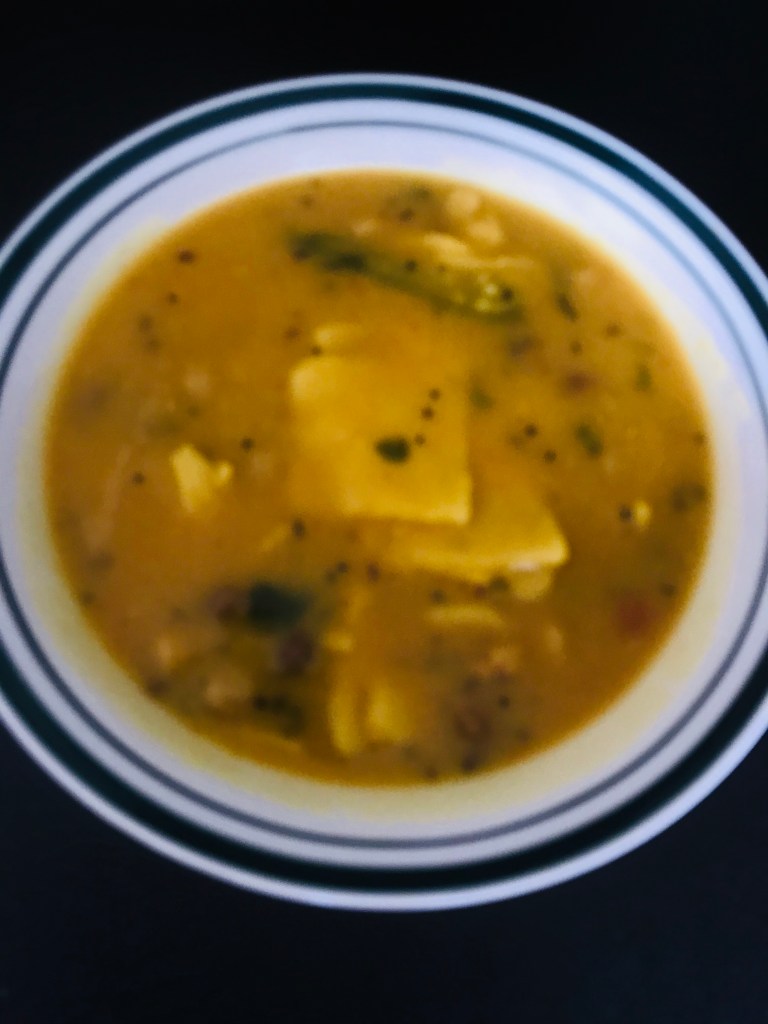
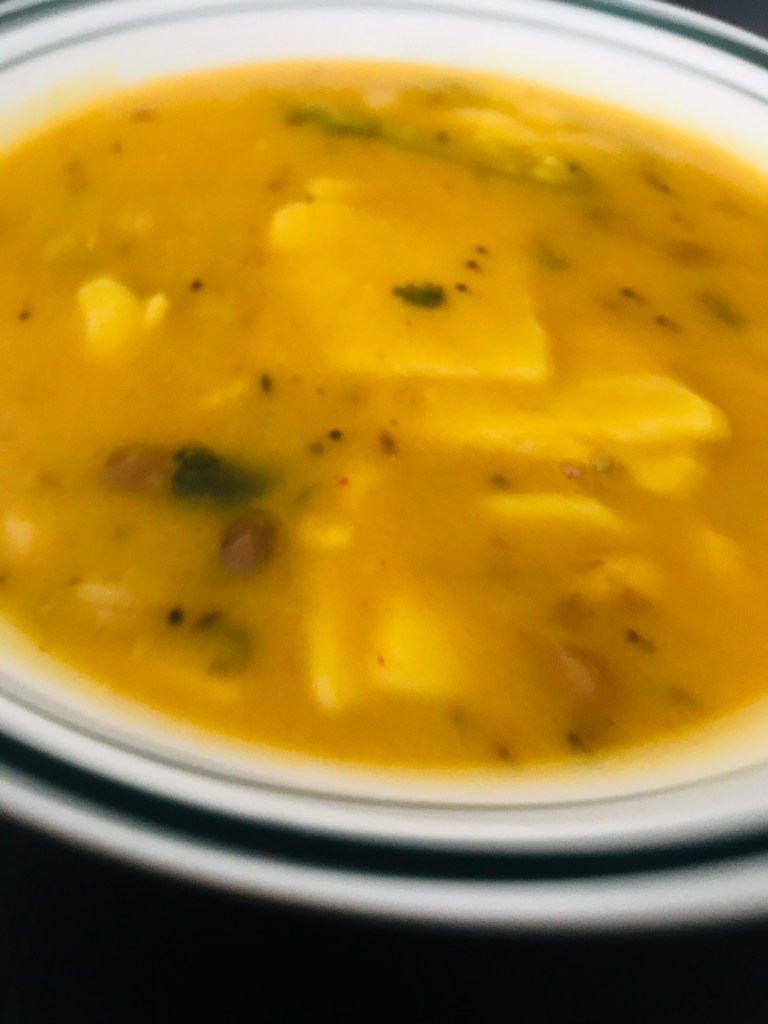
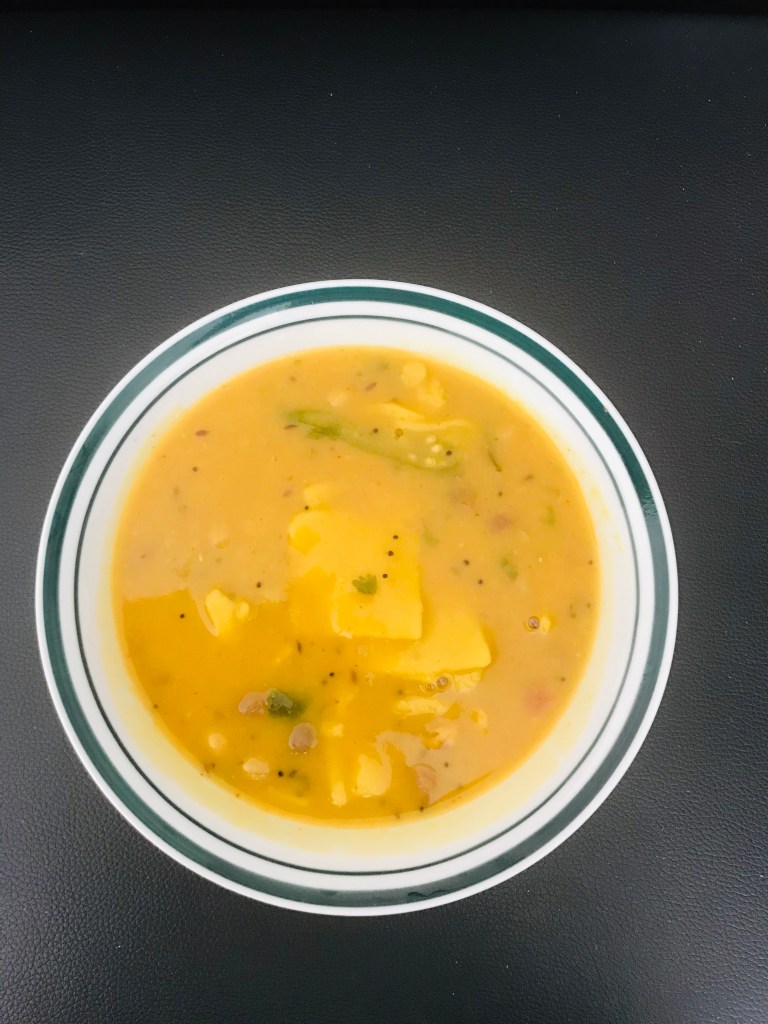
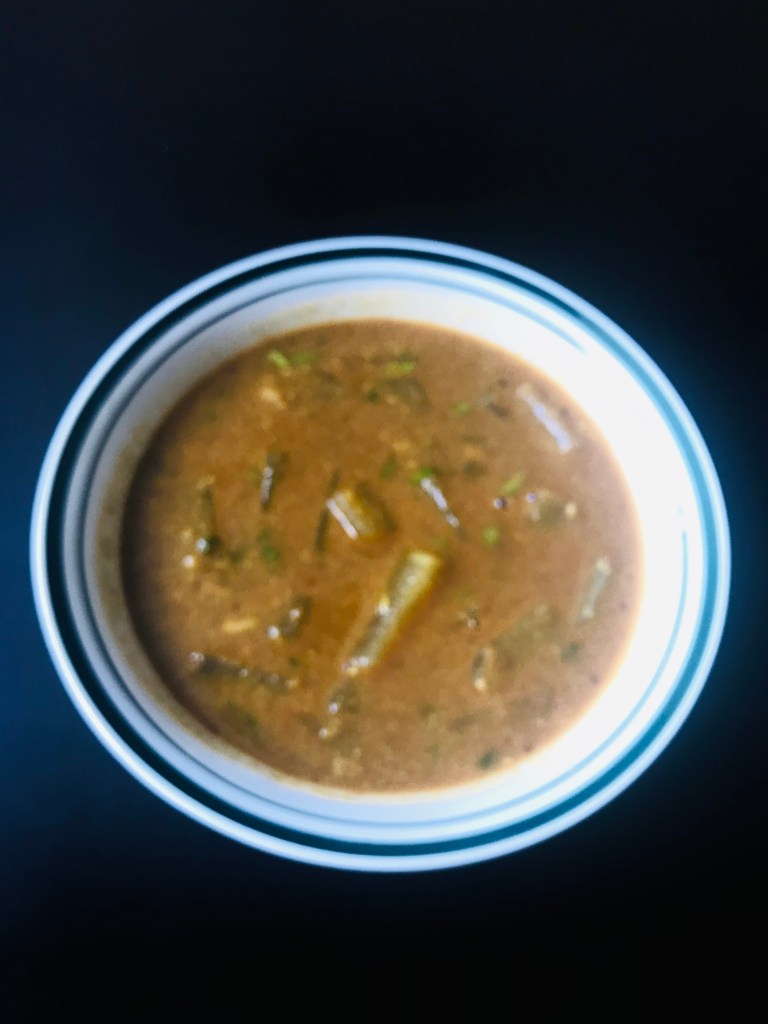
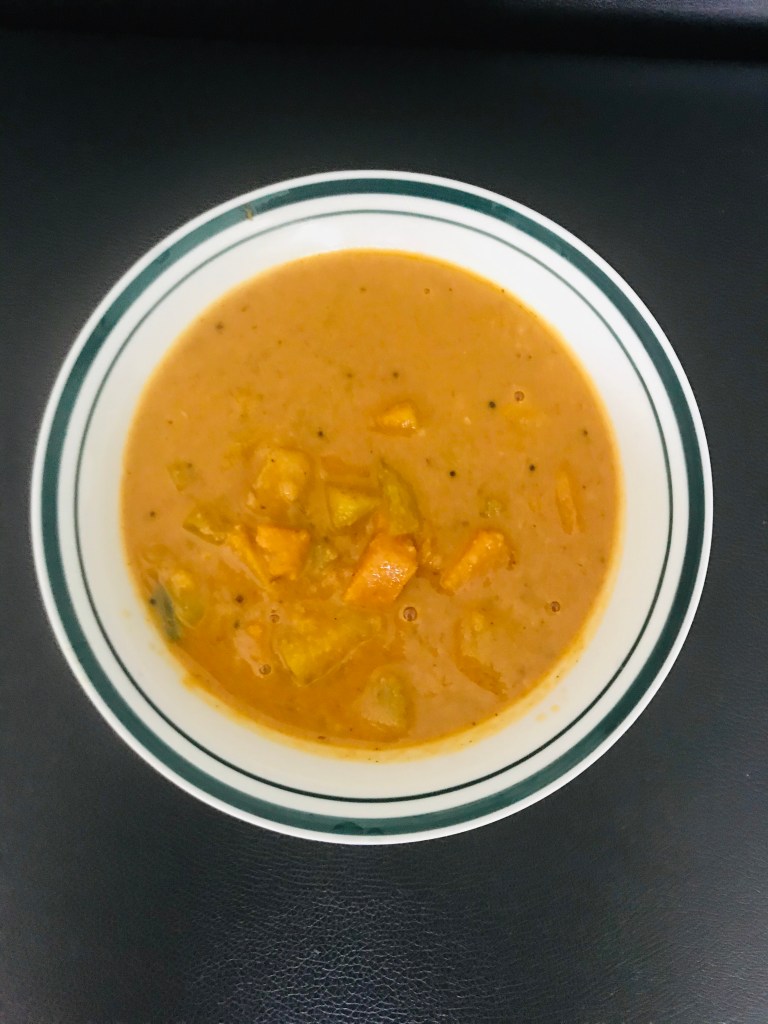
A Poritcha Kozambu is something like a stew which is made by cooking a mixture of vegetables with a paste made of coconut, urad dal and peppercorns and some cooked dal. I had some yellow and orange pumpkin left over when I made some Avial and these were too little to make something with just one of them. So I decided to combine the two to make a fusion kozambu and kootu out of the two vegetables. Generally pumpkins are not used for a poritcha kozambu but this recipe was a huge success. I loved it as did S and the children and this recipe will find its way to my cooking repertoire and I will make it often.
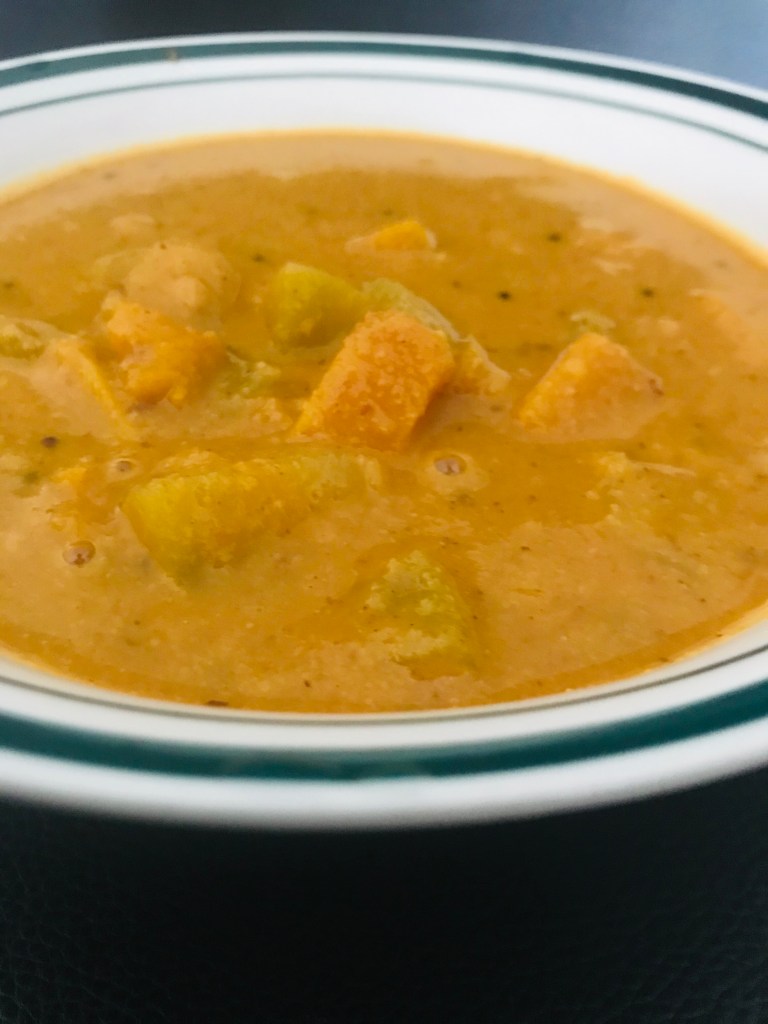
Mixed Pumpkin Poritcha Kozambu
Ingredients:
½ yellow pumpkin, peeled and chopped into bite-sized pieces
½ white pumpkin, peeled and chopped into bite-sized pieces
1 cup toor dal,
½ tsp turmeric powder
3 tbsp coconut
1 tsp broken urad dal
3-4 dried red chillies
1 tsp cumin seeds
1 tsp black peppercorns
1 tbsp tamarind paste
1 tbsp oil
Salt to taste
Chopped coriander leaves to garnish
Method:
Wash the toor dal and soak in hot water for 10 minutes. Then pressure cook the dal with ¼ tsp turmeric powder until it is soft and mushy. Once the pressure reduces and you are able to open the cooker, mash the dal well and keep aside.
Heat the oil in a small skillet and when it warms up, add the cumin seeds, dried red chillies, urad dal, and pepper corns and fry till the urad dal changes colour to a nice brown. Then add the grated coconut and stir constantly until the coconut is brown and completely devoid of water. Keep aside and let it cool.
When the coconut is cool, grind it completely to a smooth paste using water as needed.
In the same pan, add the chopped pumpkins, ¼ tsp turmeric powder and some salt and cook until the pumpkins are about 70% cooked.
When the pumpkins are cooked, but still have a bite to them, add the mashed dal and the coconut paste and stir well.
Add the tamarind paste and check for seasoning. Let it boil for about 5-7 minutes.
Garnish with coriander leaves and serve hot over steamed rice and a stir fried vegetable of your choice.