
 This sweet is the favourite of everyone at home, especially the children and is my go-to recipe when I need to whip up a sweet for any festival. GG & BB love it so much that I have to hide some for S, otherwise, he won’t get any when he comes home from work! This is a very easy recipe but takes a little bit of time stirring if you want to get the rich taste.
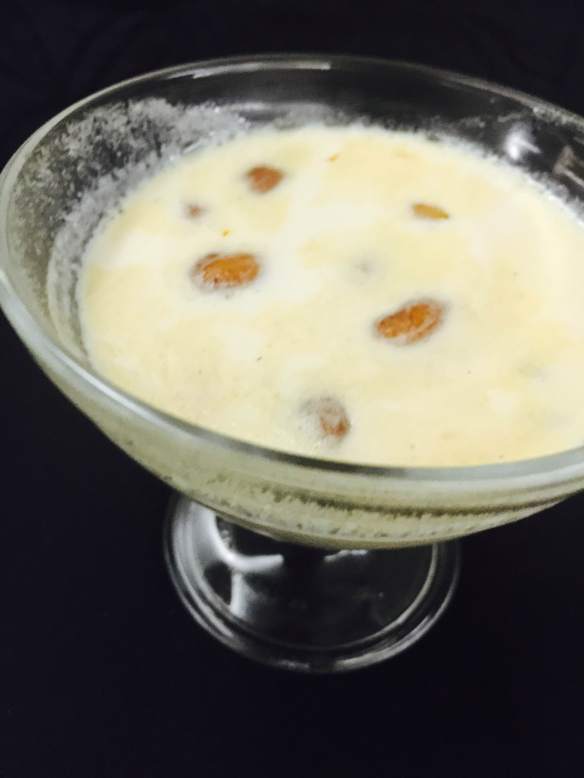
 Semiya/Vermicelli Payasam
Ingredients:
- 1 cup vermicelli
- 1 cup sugar
- 1-litre milk (full cream is the best for taste)
- 10-12 pieces cashew nuts (chopped into half)
- 2 tbsp raisins
- ½ tsp cardamom powder
- 2 tbsp ghee
Method:
- In a deep bottom pan, heat the ghee and when it warms, fry the raisins till they plump up and keep aside in a kitchen towel.
- In the same pan, fry the cashew nuts until they turn brown and crisp and remove into the same kitchen towel.
- With the remaining ghee, fry the vermicelli till it becomes brown and starts to develop an aroma.
- At this point, pour 1/3 to half a litre of milk and let it come to a rolling boil. Reduce the flame and let the milk and vermicelli boil until the vermicelli is completely cooked. This will take between 15-20 minutes. If at any point, the milk reduces, add some more milk to cover the vermicelli.
- When the vermicelli is completely cooked, add the remaining milk and let it come to a nice rolling boil.
- Now add the sugar and let it boil for a while until the sweet has thickened.
- Add the sugar, cardamom, saffron and the nuts and let it boil for another 5 minutes.
- Remove from the flame and let it cool before serving.
- This sweet is very tasty both hot or cold, but we prefer to drink it cold. A few hours in the fridge really improves the taste dramatically.
Tips:
- If you want to increase the proportions, just remember to put the sugar and vermicelli in a ratio of 1:1.
- I prefer to use a pestle and mortar to grind my cardamom on an ‘as I need it‘ basis. I feel that grinding a whole bunch of cinnamon at the same time makes the smell of the spice go away after a while. You will need the pods from 5-6 cardamoms to make up ¼ tsp of the powder.
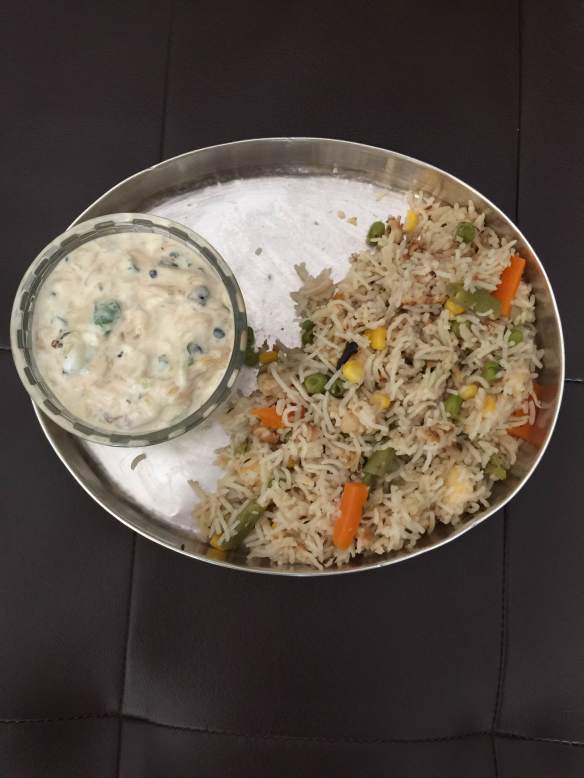 An easy one-pot meal, this pulao can be put together when you are in a hurry. This is the perfect meal for a bachelor to make as it does not need many utensils as well as a lot of skills to make it.
 Ingredients:
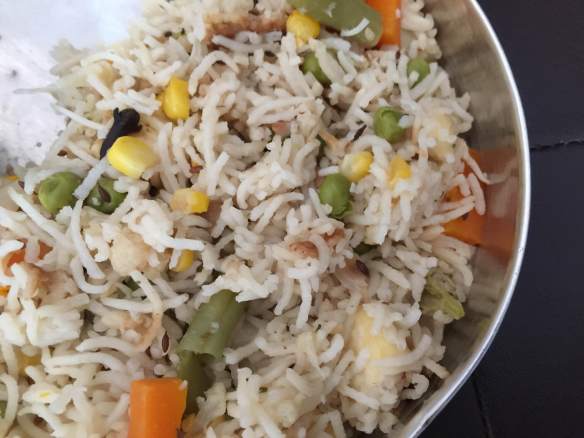
 A couple of days each week, I need to send BB & GG to school with a packed lunch as they have to stay back in school for either CCA or supplementary lessons.
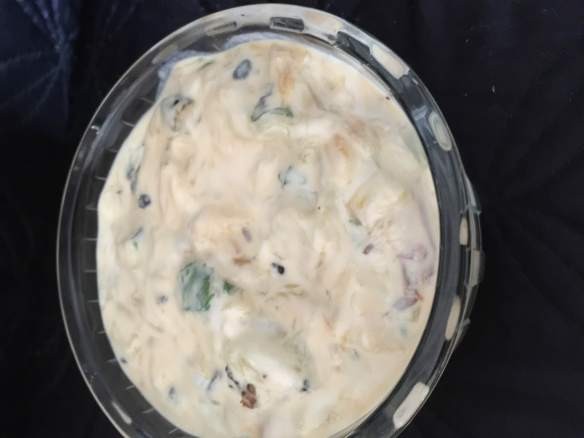 Ingredients:

 Ingredients:
 Indian vegetables are a staple in my house, especially when we have done shopping in the Little India district. And Snake Gourd somehow makes it home every time this happens. Normally I make a stir-fry with this vegetable and honestly, even I was bored with that every single time. I decided to search and see if anything else can be made and found people had experimented with dal with this vegetable. So I also decided to make a dal and did a very simple dal with hardly any seasoning. The result was a delicious dal which would go very well with both rice as well as rotis and flatbreads.
 This is a common vegetable in India and because it’s long and slim (like a snake, it is called Snake Gourd). The vegetable has many health benefits too, including its ability to improve the strength of the immune system, reduce fevers, detoxify the body, improve the digestive processes of the body, increase hydration in the body, treat diabetes, boost the strength and quality of the hair, and aid in weight loss. More information on this vegetable on
  Ingredients:
