I’ve been so busy this week that I’ve not really had time to sit and think over a nice blog post. My apologies….So here’s another recipe which I made last weekend.
 This is something my mum used to make all the time growing up and I always assumed it was typical tambram food. Maybe not and this is something she learned. But I think many communities across India have a similar recipe. My mum’s recipe does not have raisins, which is something I usually add – I saw something similar at a dinner at S’ aunt’s place aeons ago and started using it since then.
This salad is a quick one, you can be done in less than 15 minutes, start to end and is a very healthy and colourful addition to your table!
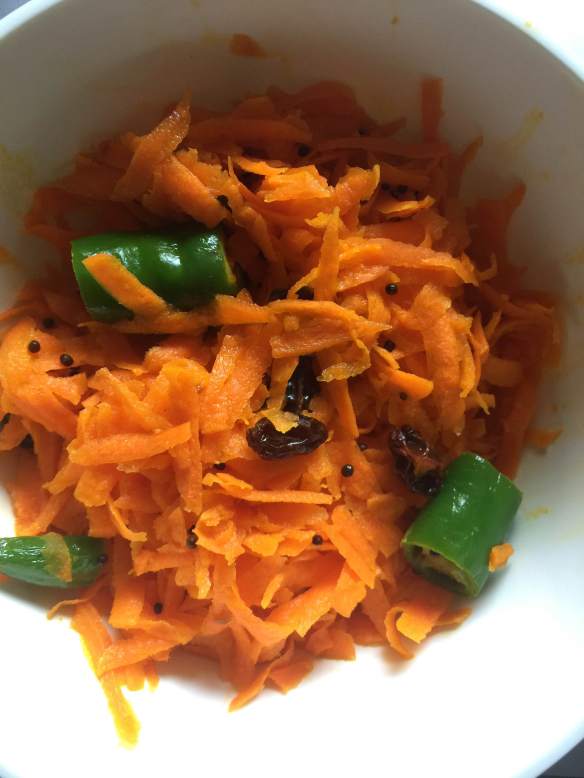
Carrot and Raisin Salad
 Ingredients:
- 1 cup carrots, peeled and grated/shredded
- 1/4 cup raisins
- 2-3 fresh green chillies, chopped into medium pieces
- Salt to taste
- 1-1.5 tsps lemon juice
- 1 tsp ghee or oil
- 1 tsp mustard seeds
- A pinch of asafoetida
- Chopped coriander leaves to garnish
Method:
- Shred or grate the carrots and keep aside.
- Make sure the raisins are at room temperature
- In a pan, heat the ghee or oil and when it’s warm, add in the mustard seeds. When the seeds pop, put in the asafoetida and saute for a few seconds. Then add in the chopped green chillies and let it saute for a couple of minutes.
- Now add the grated carrots and cook for a few minutes. The carrots should not cook and should still be crunchy. Add the raisins and salt to taste and remove from the fire.
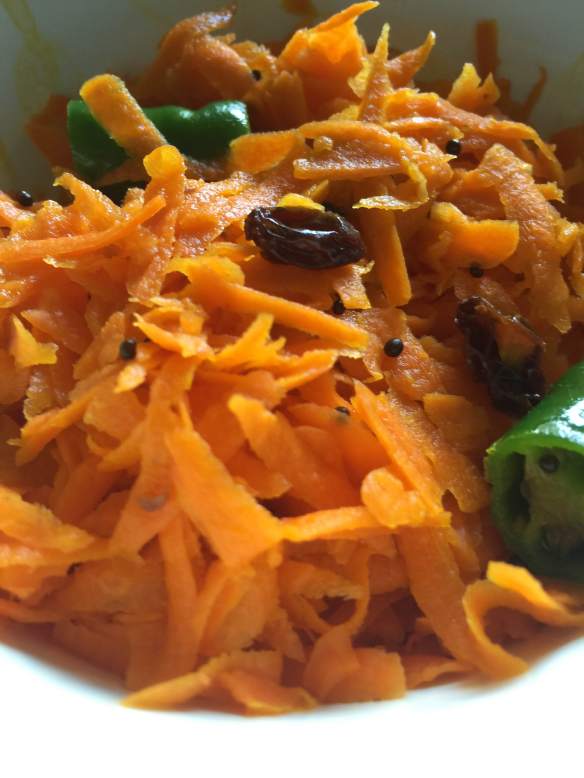
- Pour in the lemon juice to the tartness you like and garnish with coriander leaves.
Yummy carrot and raisin salad ready….
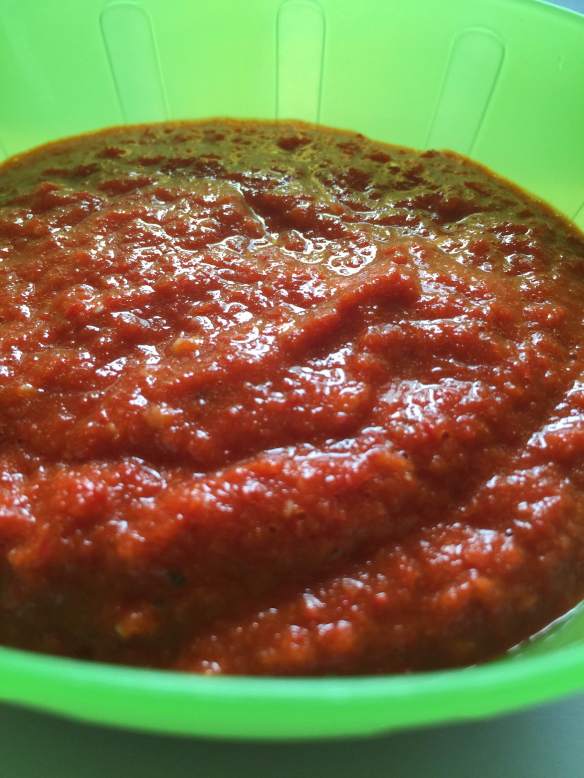
 Last week, while making dosa, a rice-based pancake, we wanted to have a chutney, but were tired of having the usual coconut and tomato chutneys which I usually make. So I decided to experiment and see if I could tweak something we usually make and come up with something else. I decided to tweak my
 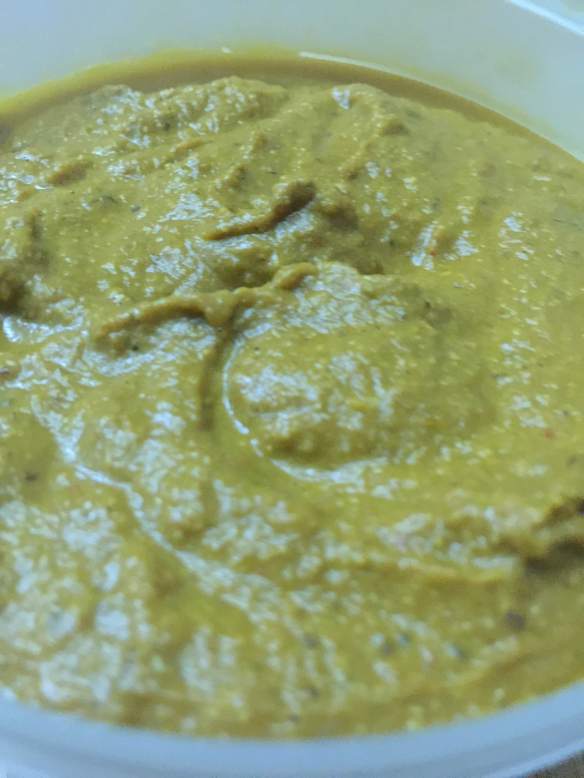 Ingredients:

 Ingredients: