Recipes: Hearty Vegetable Stew

In another episode of no rice Sunday, I was wondering what to make. I had made soups and some roasted vegetables the last few weeks and wanted something different. I was thinking of making a vegetable stew,but didn’t want to make a Kerala-styled coconut milk one. So I decided to improvise and hope and pray it turned out to be edible!

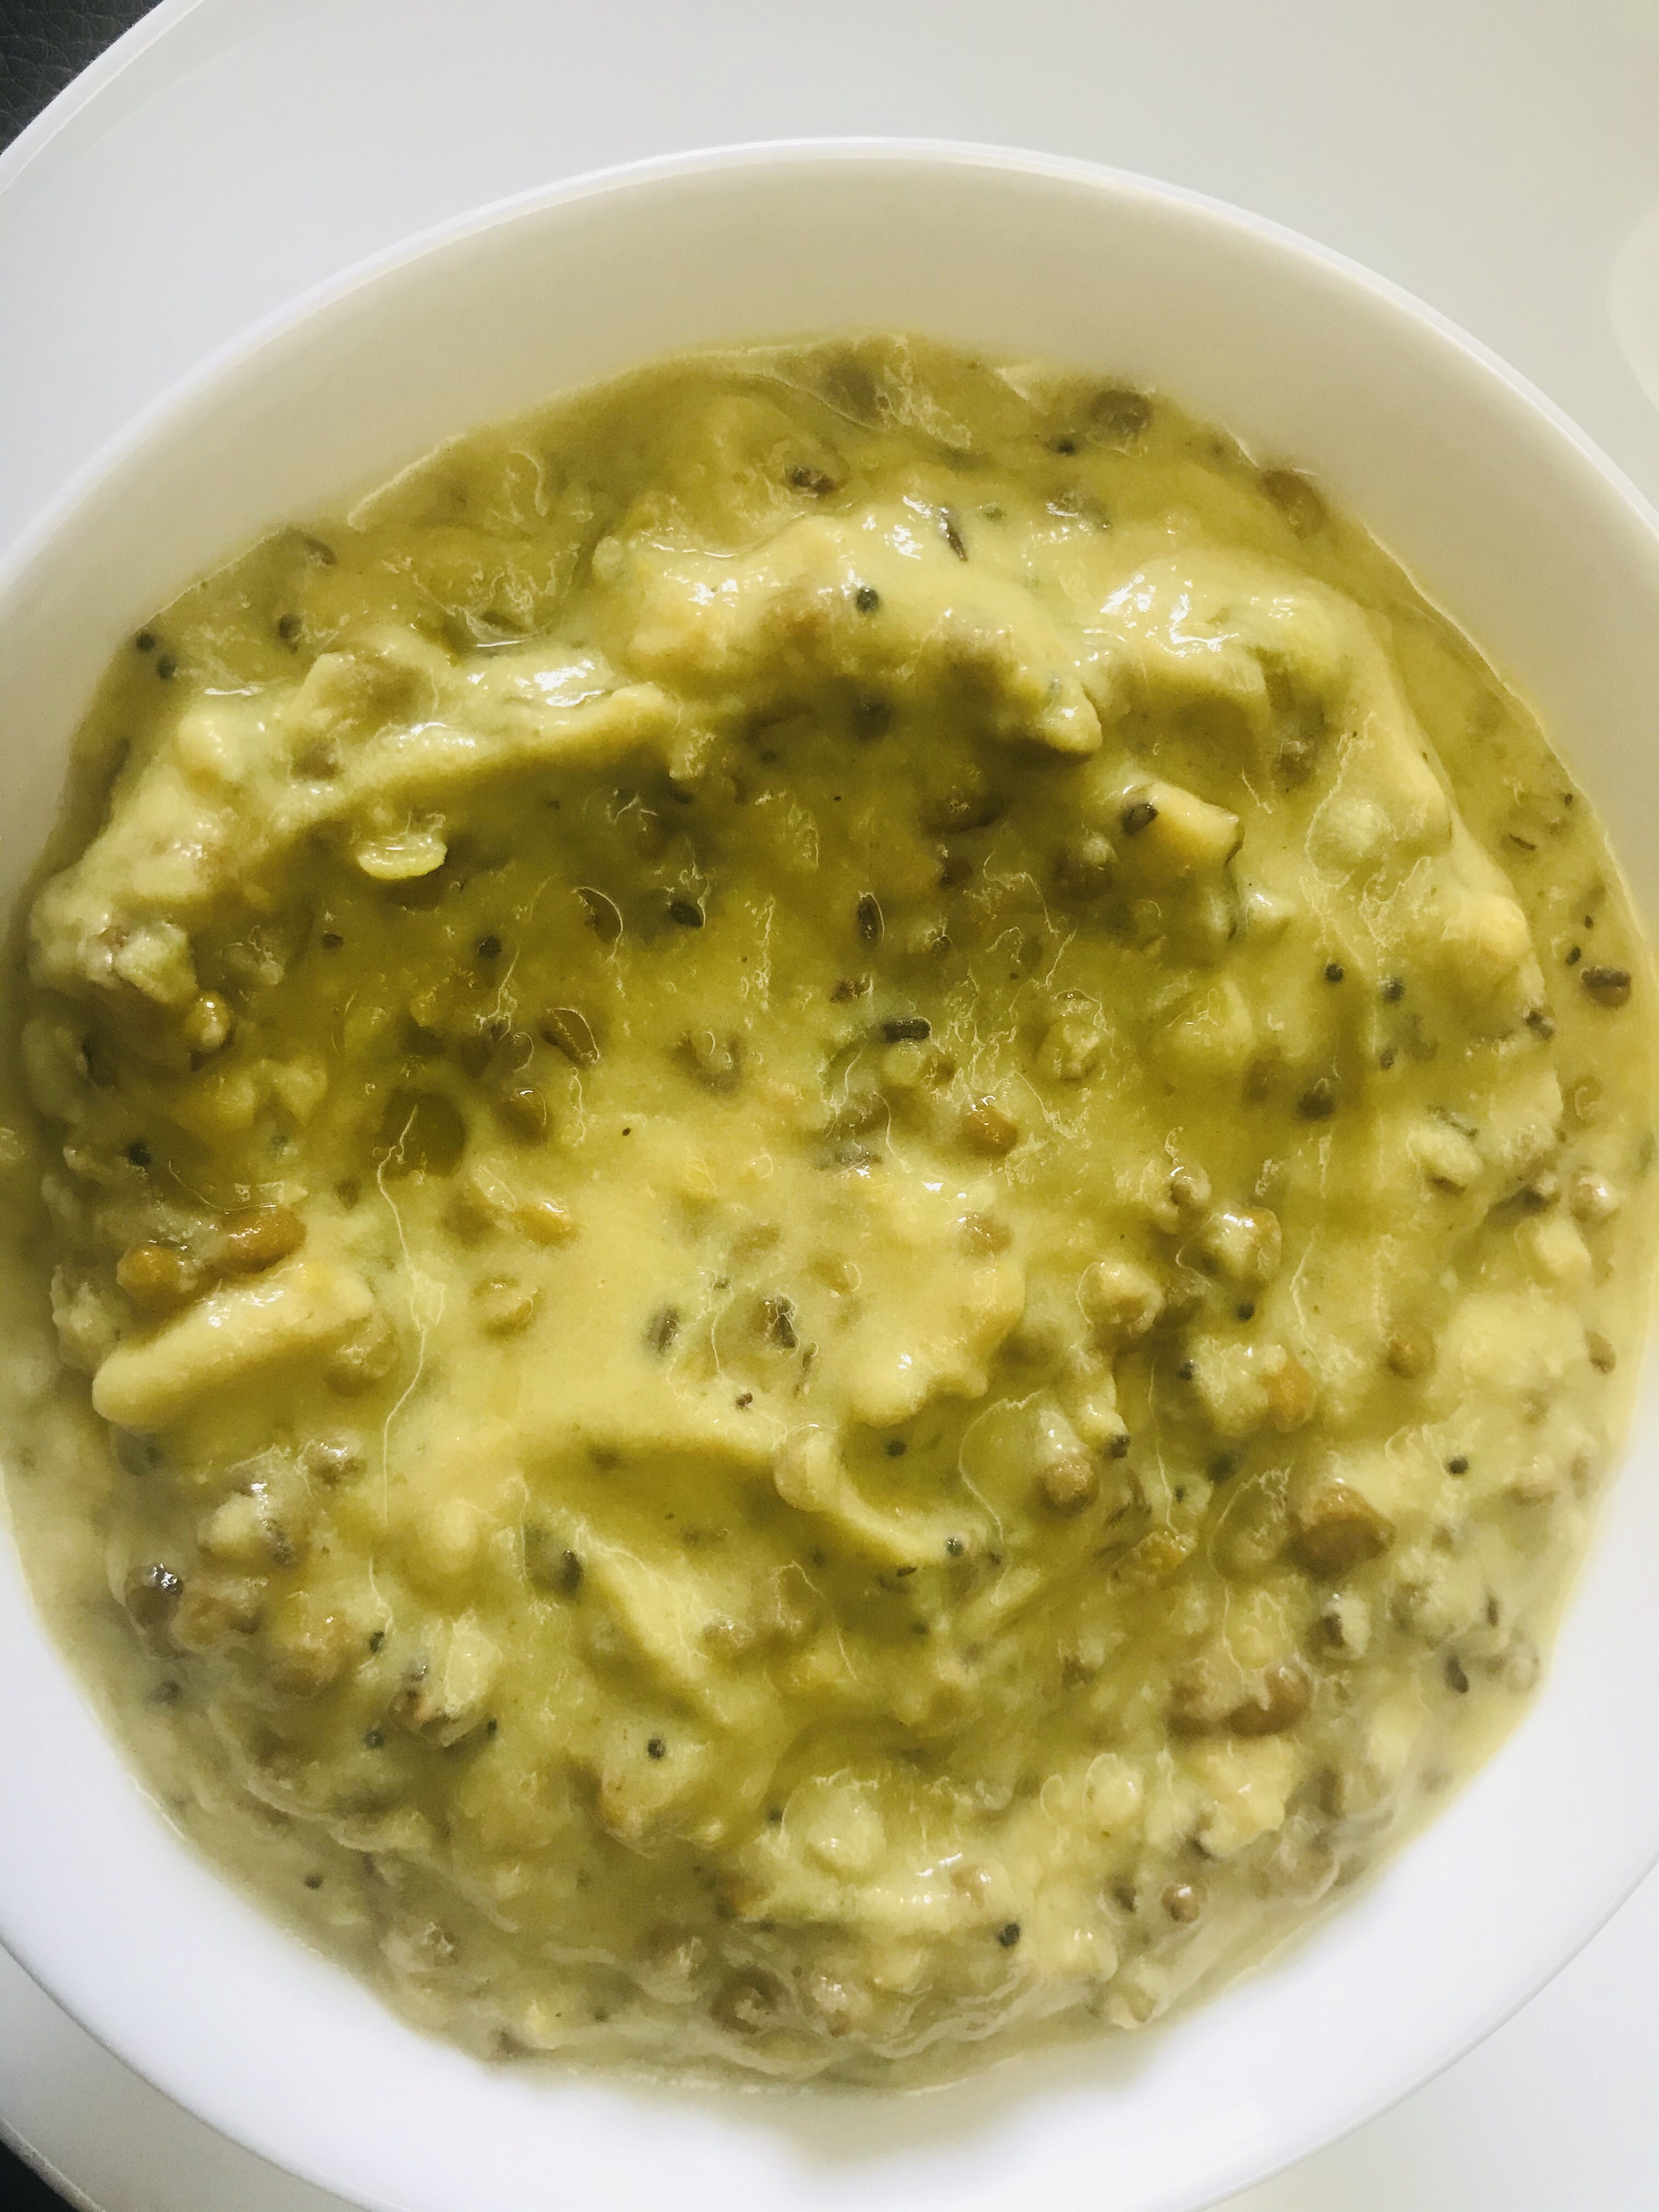
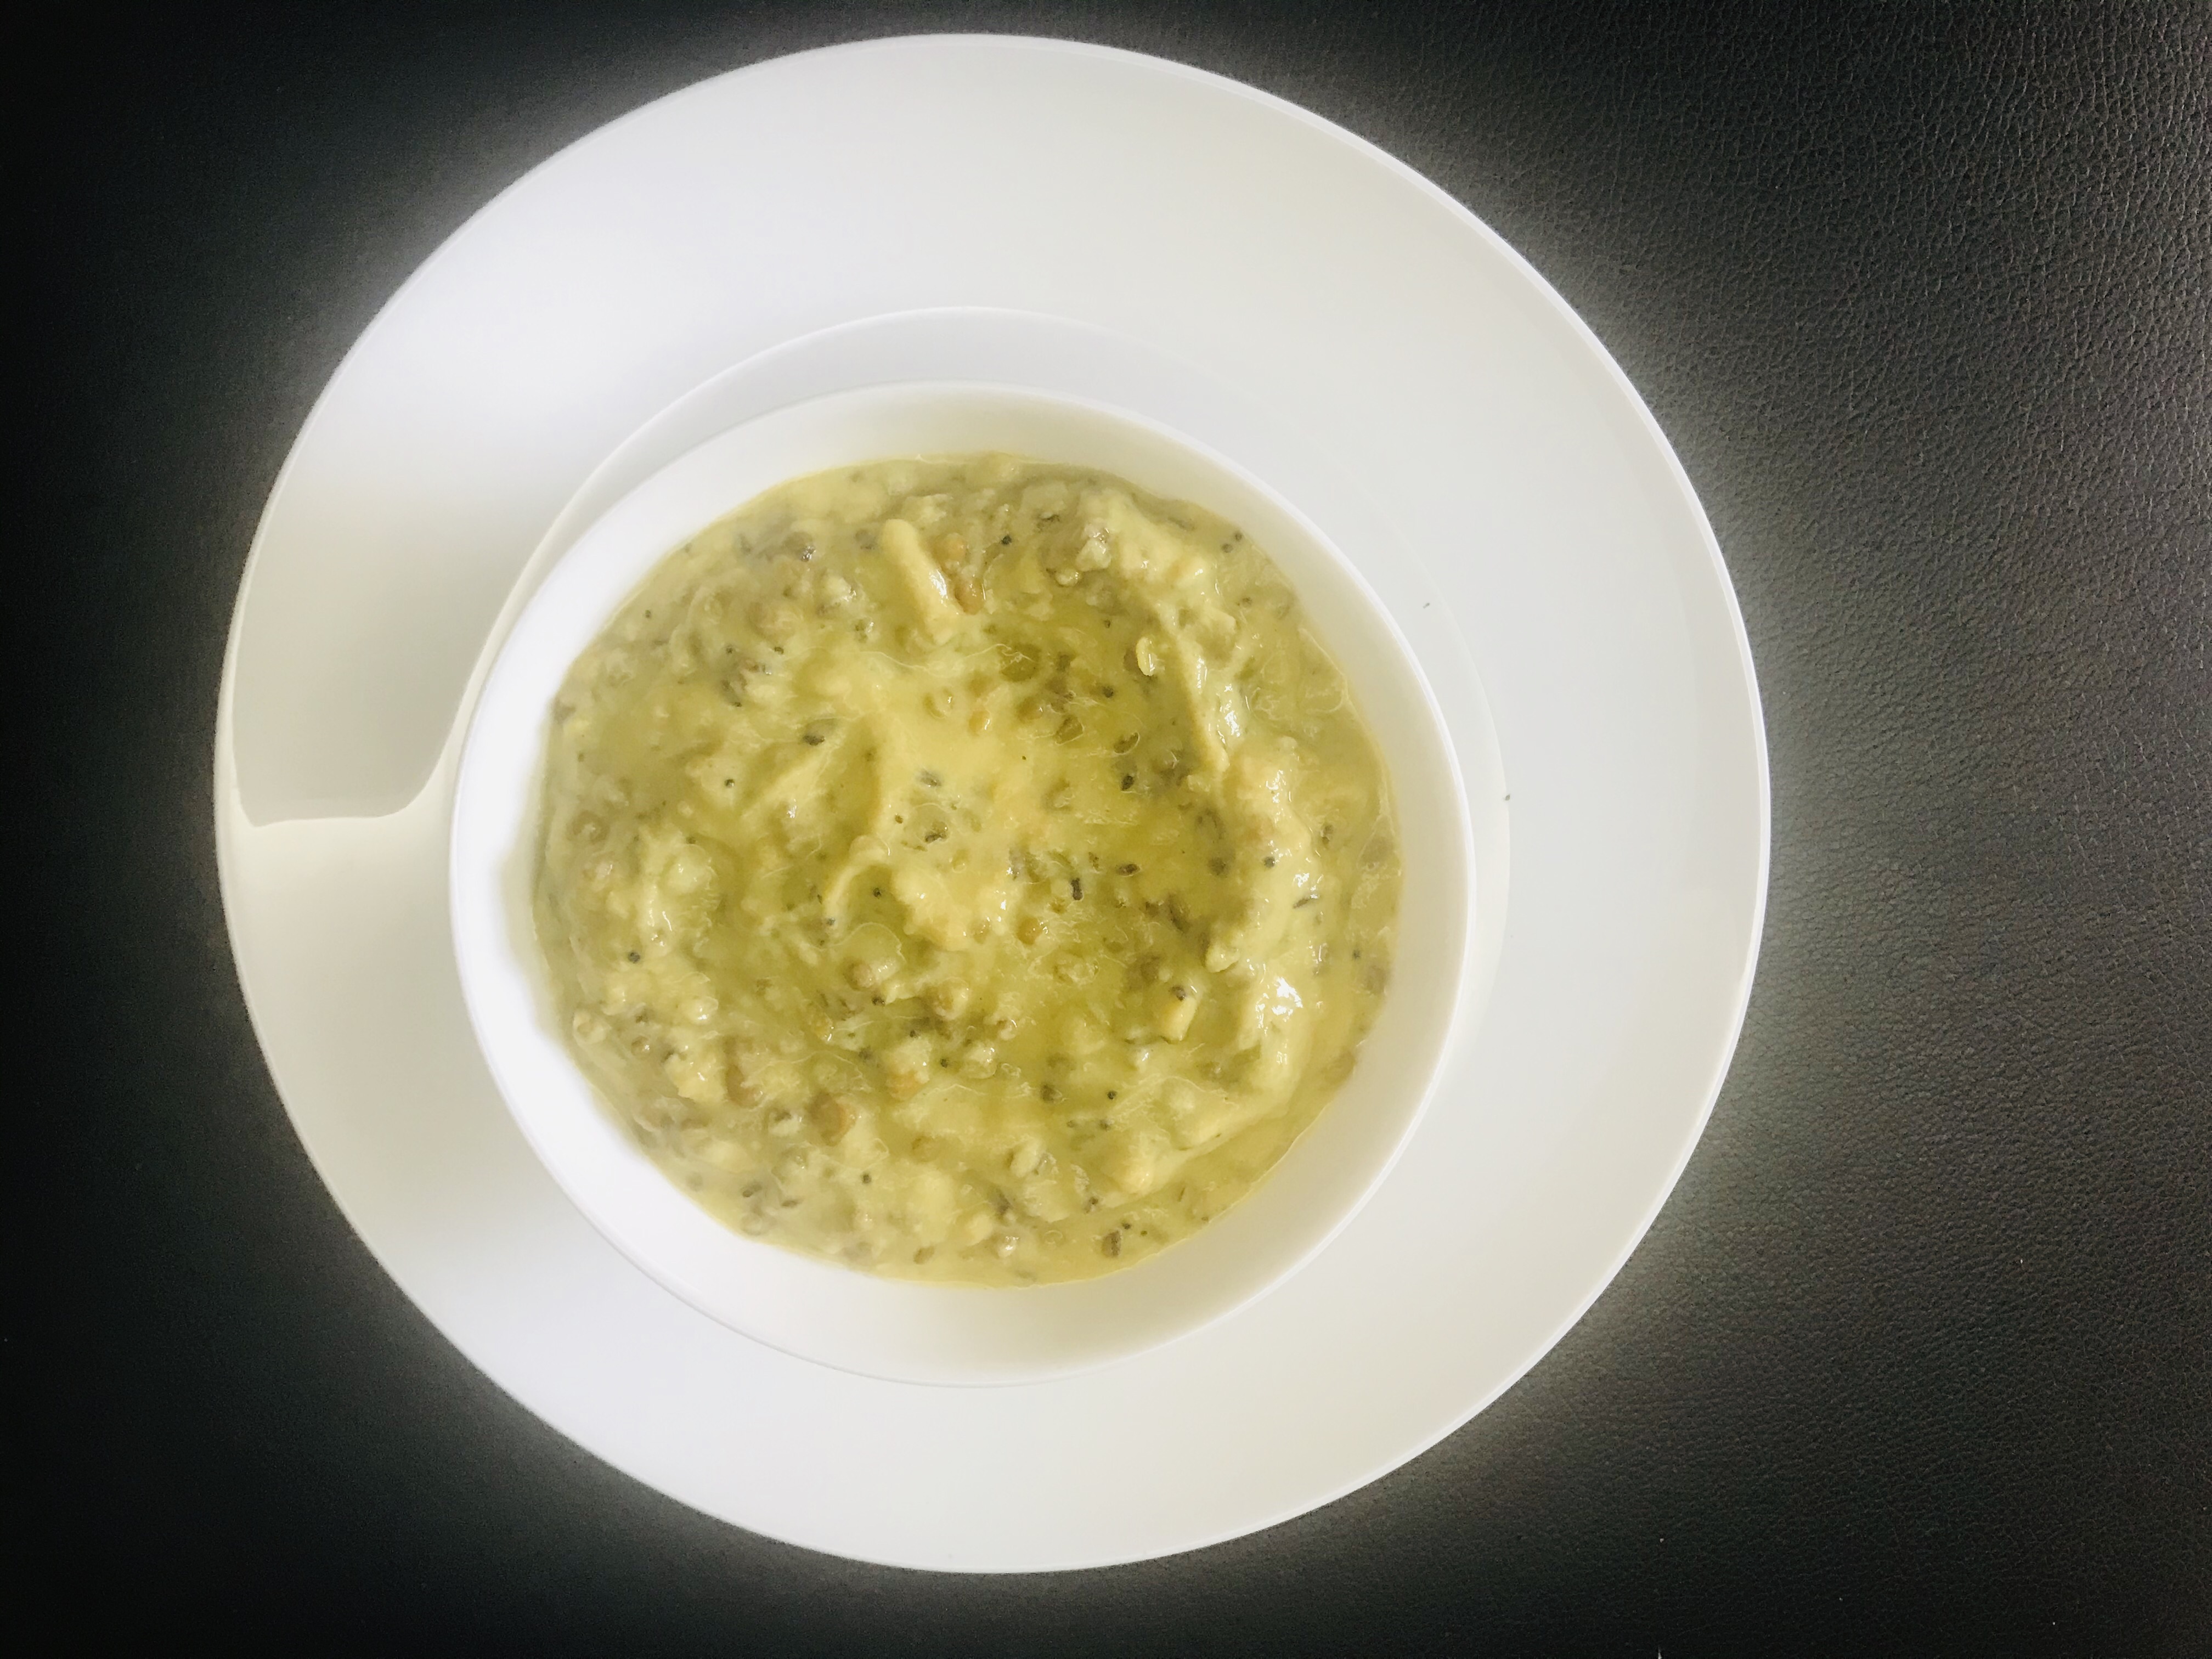
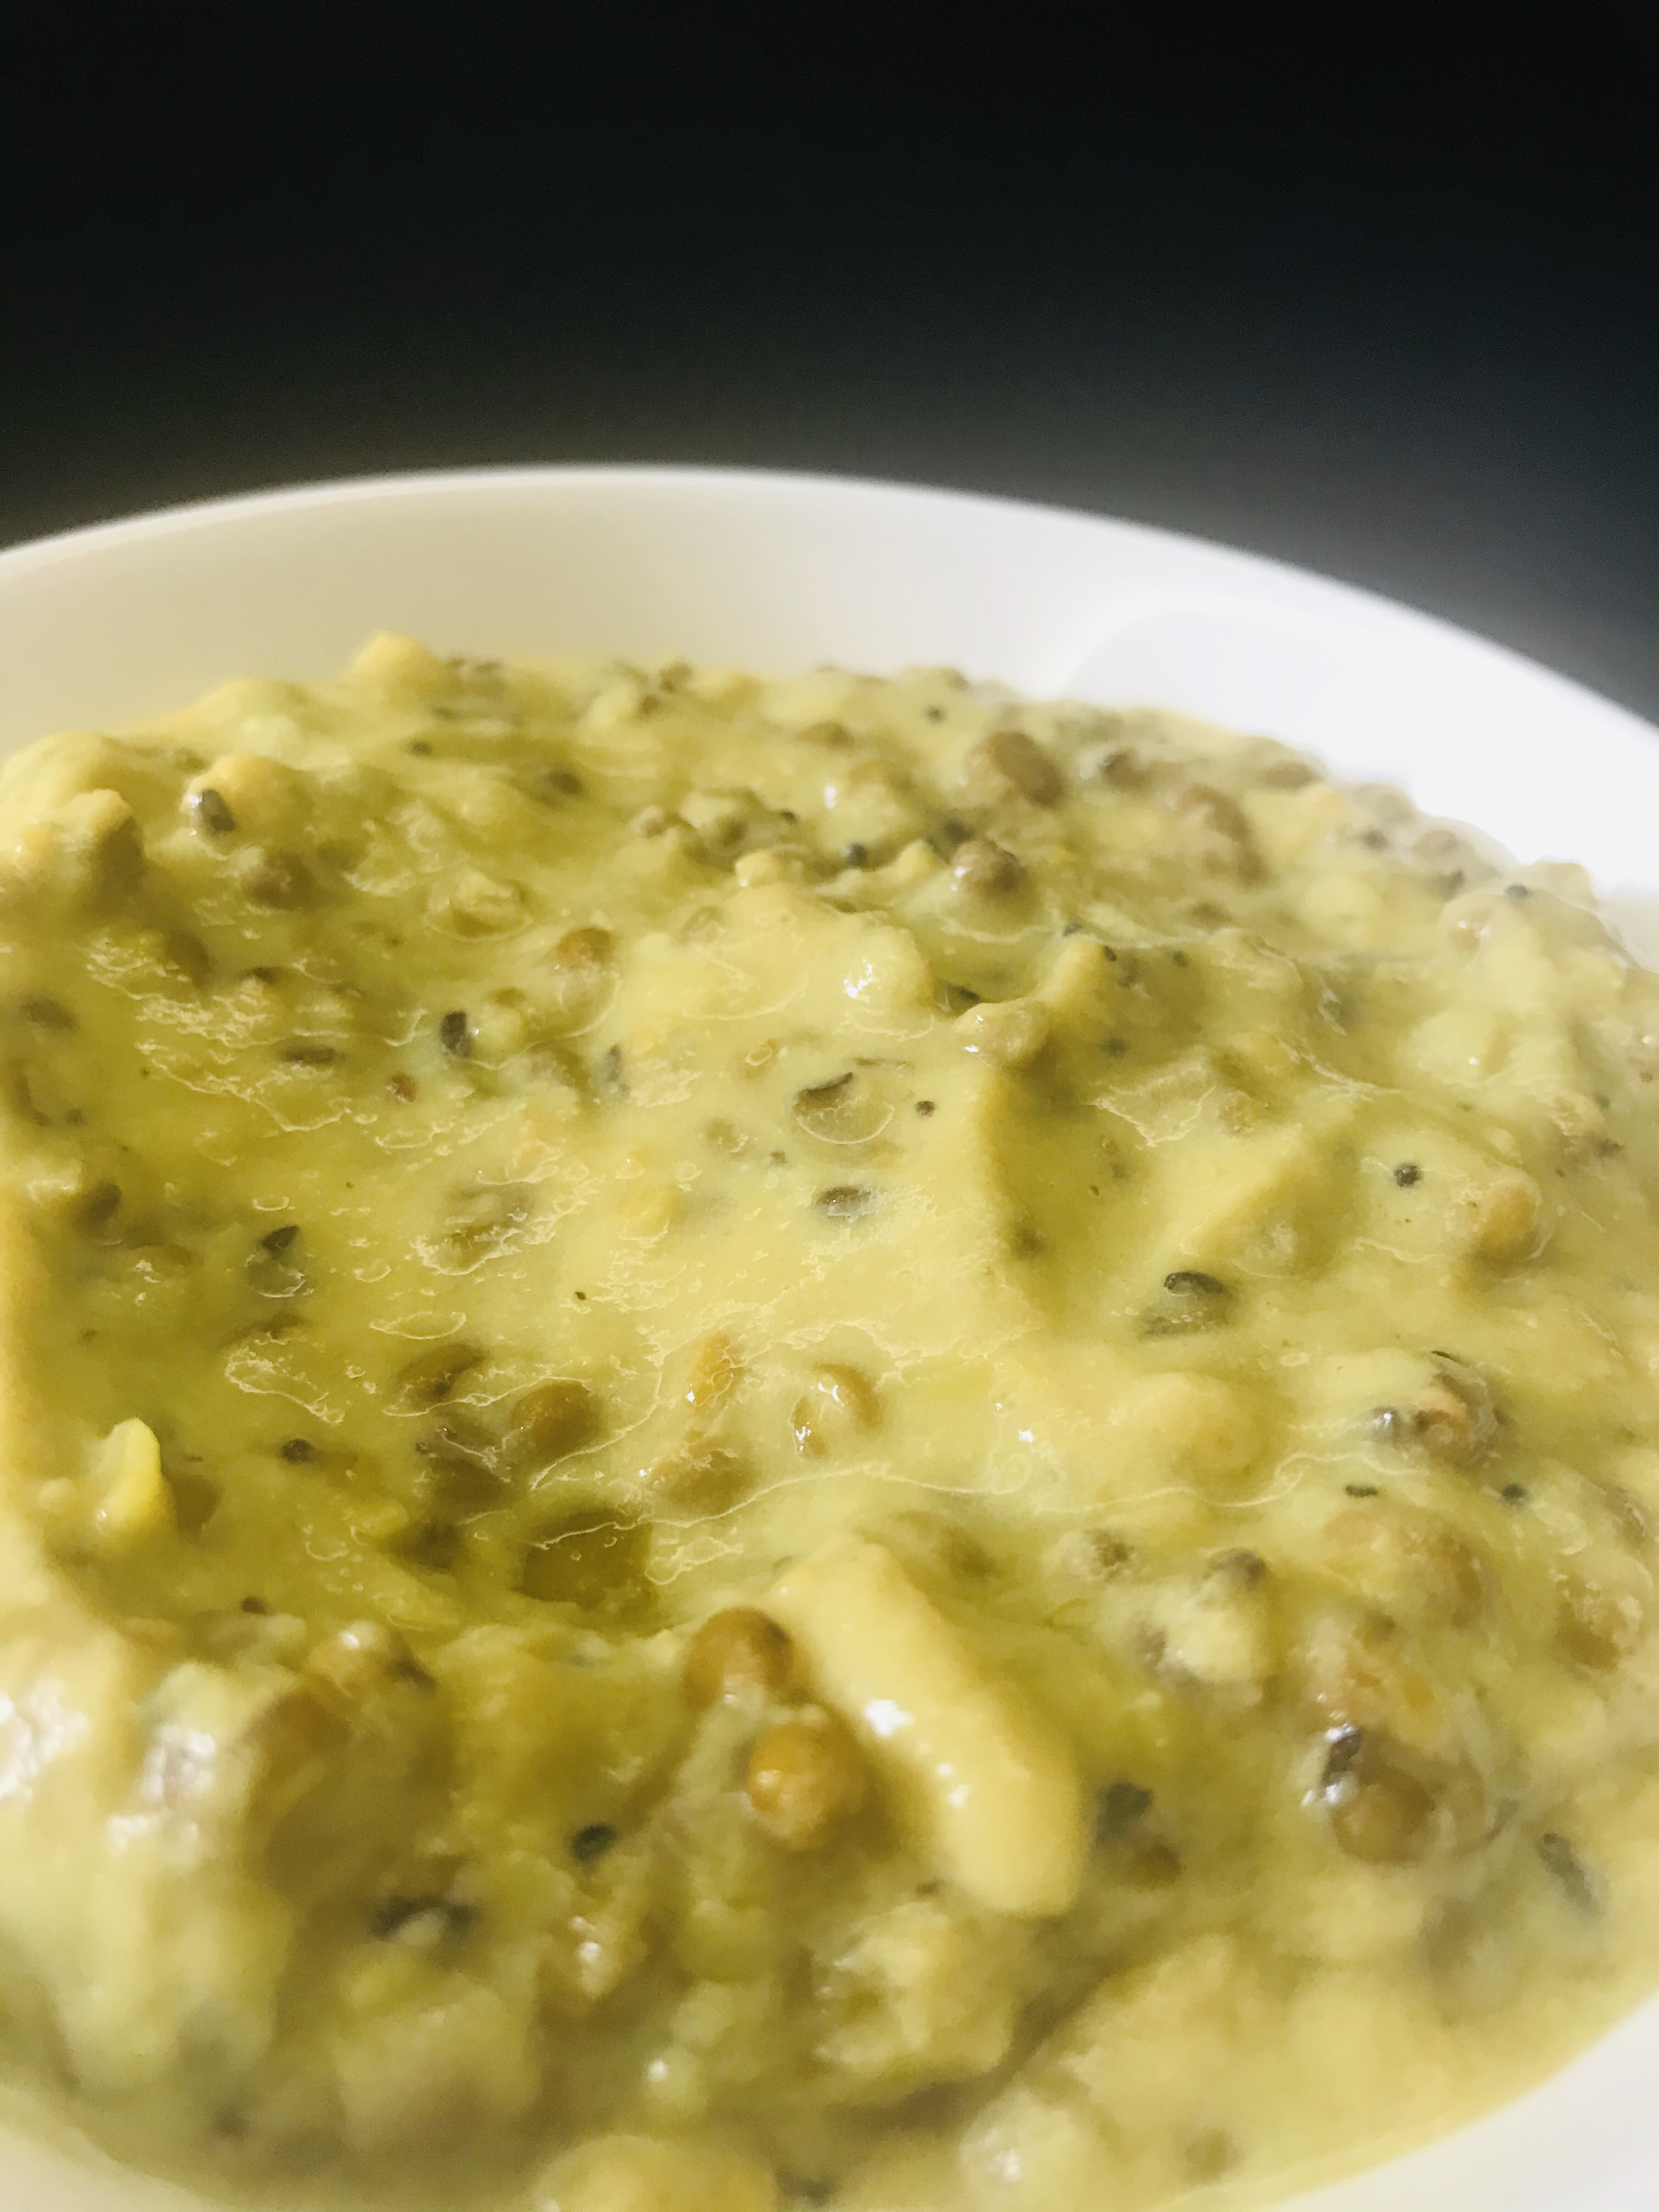
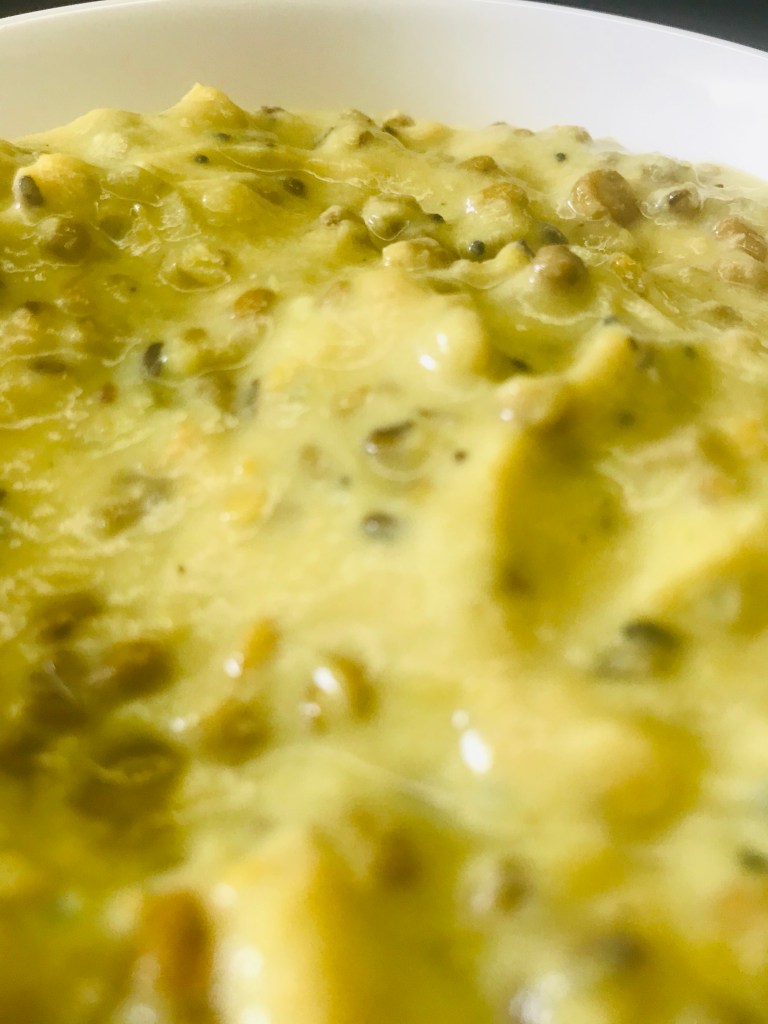
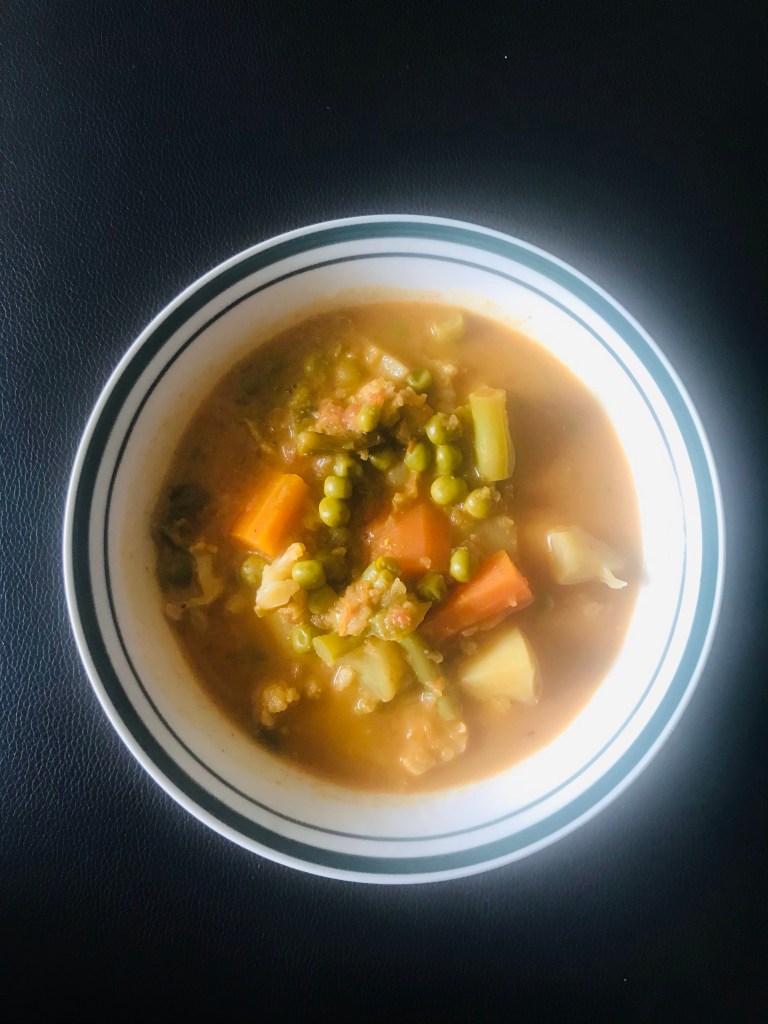
The recipe turned out to be a cross between a soup and a gravy curry and was so flavourful. It is also very healthy with just a tbsp of oil used in the entire recipe. Another good thing about the recipe is that it is a one-pot recipe and would work beautifully for a slow cooker. It just cooks by itself and you need not sit around, stirring and adding ingredients.

My family loved it and I am blogging about it so I can add it to my reportoire and make it another day.

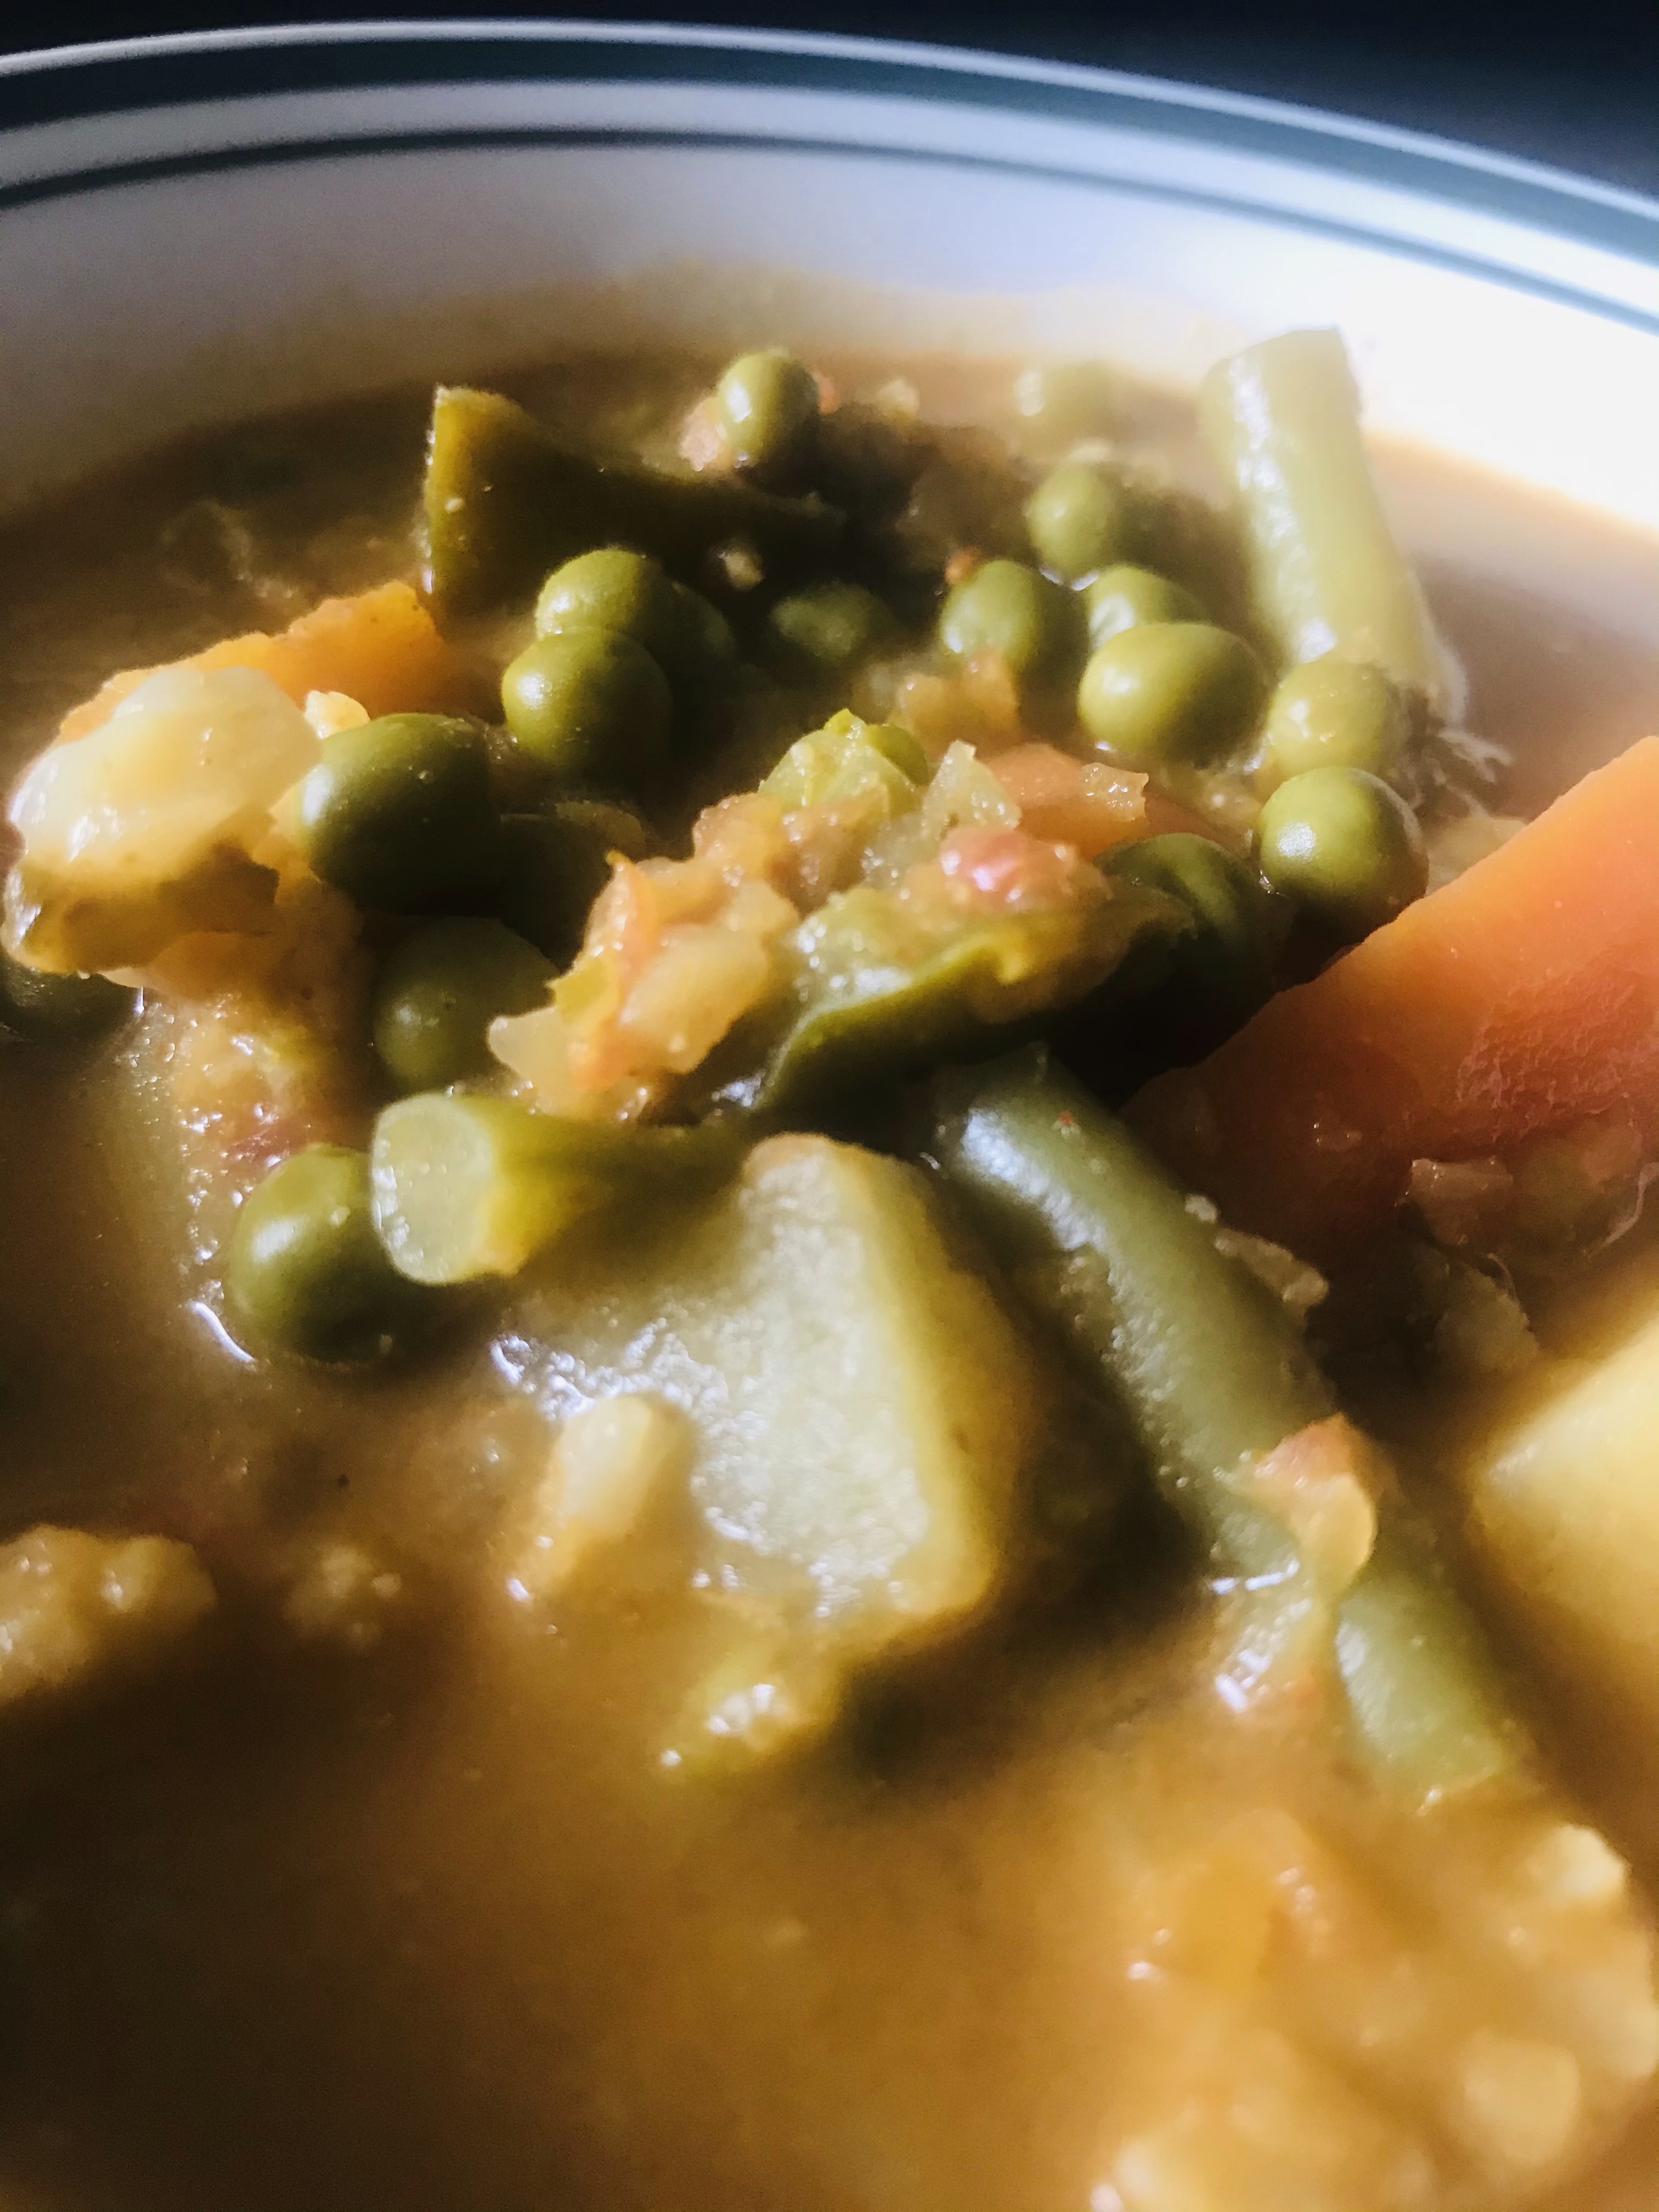
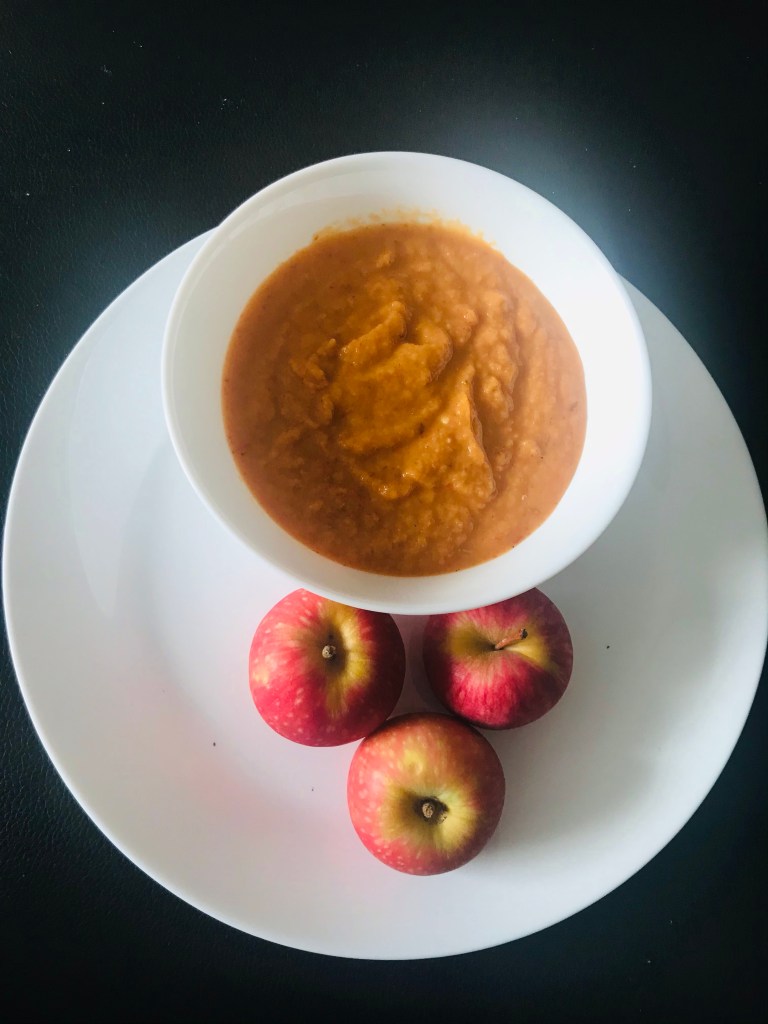
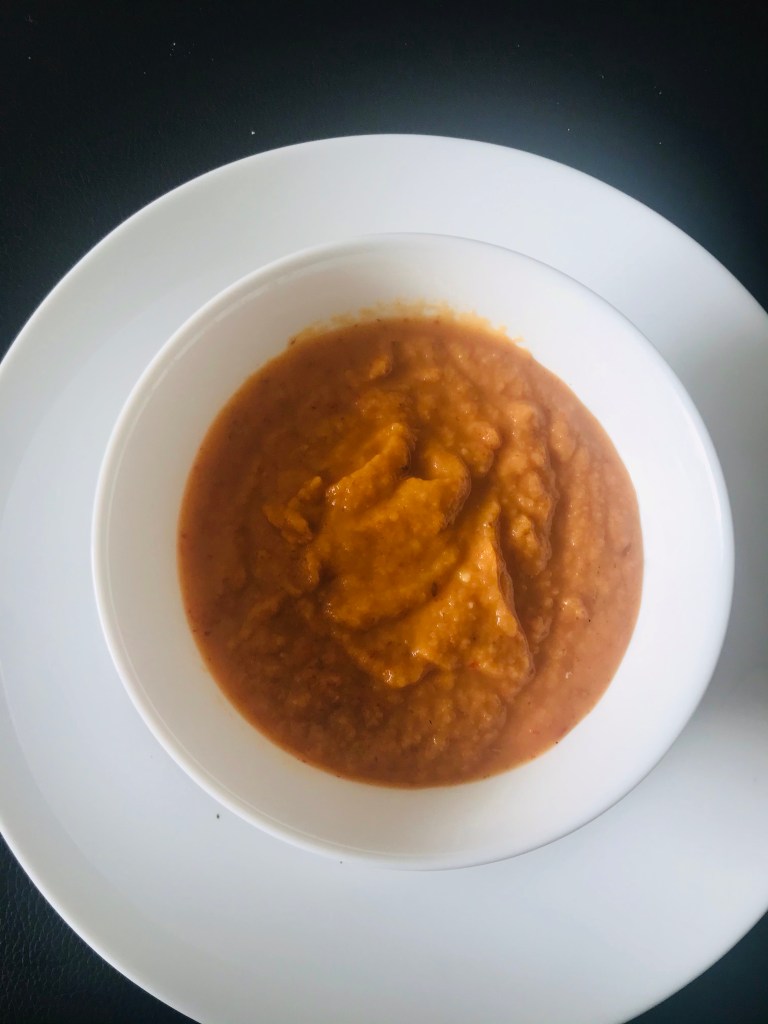
Hearty Vegetable Soup

Ingredients:

  • 3 medium sized onions, minced
  • 2 carrots, chopped bigger than bite sized
  • 2 potatoes, chopped
  • 1 head of cauliflower, chopped
  • 1 green bell pepper, chopped
  • 1 small cup frozen green peas
  • 3-4 medium sized tomatoes, minced
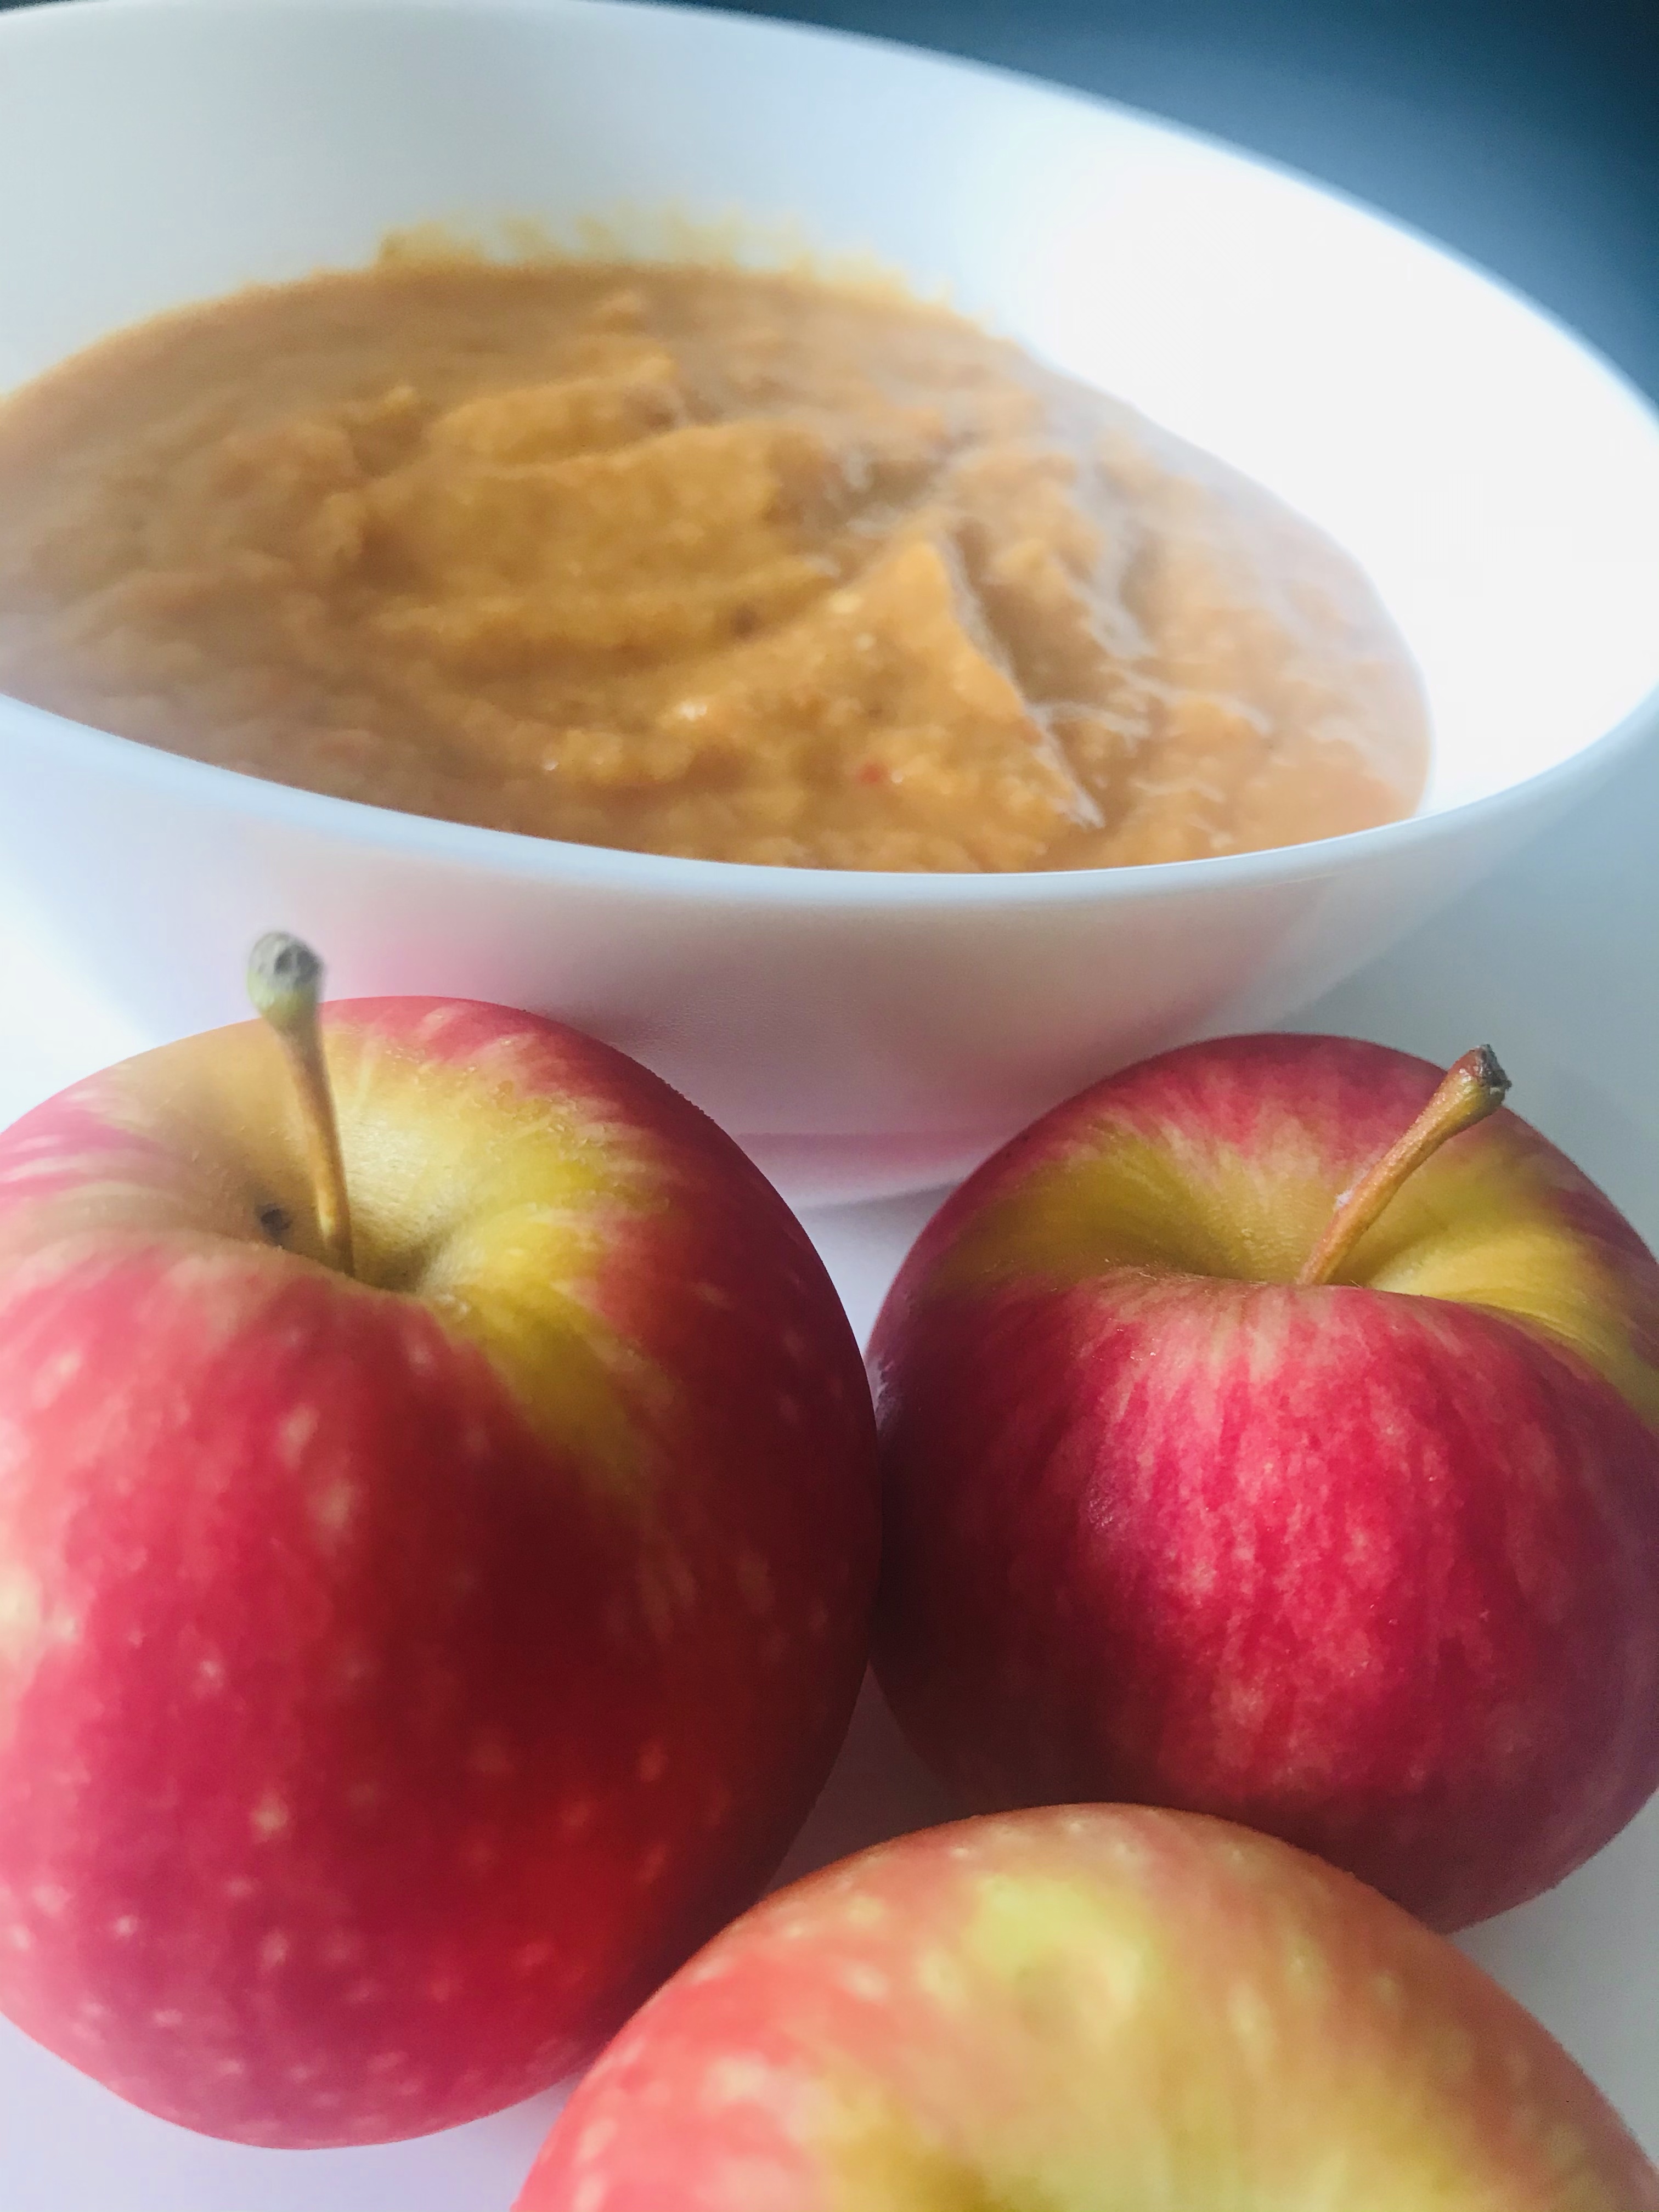
  • 2 green apples, minced (optional)
  • 1 tsp red chilli powder
  • 1/4 tsp turmeric powder
  • 1 tsp cumin powder
  • 1 tsp coriander powder
  • 1-2 tsp garam masala powder
  • 1 tsp cumin seeds
  • 1 tsp fennel seeds
  • 15 cashew nuts, soaked in hot water for 15-20 minutes
  • 15-20 peanuts, soaked in hot water for 15-20 minutes
  • 1 tbsp oil
  • Salt to taste
  • Water as required

Method:

  • Chop the vegetables into pieces larger than bite-sized. I chopped them roughly into 3/4 to 1 inch pieces. Just make sure all the vegetables, with the exception of the green peas are of roughly the same size. Wash and keep aside.
  • Mince the onions into small, fine pieces. I did this using my food processor which took me seconds as compared to chopping by hand.
  • Heat the oil in a large pan or dutch oven and when the oil warms up, add the cumin seeds and let them splutter. Then add the fennel seeds and stir for a couple of seconds.
  • Now add the onions and stir well and let the onions soften and become translucent.
  • Once the onions are translucent, add the chopped green bell pepper and let it cook for about 3-4 minutes.
  • Then add the dry spices – turmeric powder, red chilli powder, cumin powder and coriander powder and stir well.
  • Now add the other chopped vegetables and stir well so the vegetables are covered with the spices. Cover and cook on a medium flame for about 5 minutes.
  • While this is cooking mince or grate the tomatoes and green apples and keep aside. I again used the food processor and minced both ingredients together.
  • Then add the minced tomatoes and green apple to the vegetables, lower the flame to a medium-low and let it cook till the vegetables are about 80% cooked. You can also add water to the vegetables at this point, because it will become quite thick with all the vegetables.
  • While the vegetables are cooking, blend the cashewnuts and peanuts into a smooth paste. Keep aside.
  • Once the vegetables are about 80% cooked, add the garam masala and the blended cashew-peanut paste and add any seasoning if needed.
  • Let it continue to cook on a low flame till the vegetables are completely cooked and serve hot with some crusty bread.
  • If you plan to make this ahead of time, then you may need to add some water when you heat it up before serving because it will thicken up because of the cashewnuts and peanuts. If you are going to add more water, then you will need to check seasoning also which may become diluted.

Pressure Cookers: An indispensable gadget in the Kitchen

The other day, when I was cooking, I started thinking about the ubiquitous kitchen aid in an Indian kitchen – the pressure cooker. Every household has at least one and many have multiple. I currently have two in different sizes and have over the years used different sizes depending on my need at that point.

In my extended family, we have almost to a person used pressure cookers from one particular brand, specifically those with a dome top which allows (according to me), slightly more items into the cooker than the other commonly available design which is slightly inserted into the pan.

For the uninitiated, pressure cooking is the process of cooking food under high-pressure steam, employing water or a water-based cooking liquid, in a sealed vessel known as a pressure cooker. High-pressure limits boiling and permit cooking temperatures well above 100 °C or 212 °F to be reached.

The pressure cooker was invented in the seventeenth century by the physicist Denis Papin. It works by expelling air from the vessel and trapping the steam produced from the boiling liquid inside. This raises the internal pressures and permits high cooking temperatures and together with high thermal heat transfer from the steam, cooks food far more quickly, often cooking in between half and a quarter the time for conventional boiling. After cooking, the steam pressure is lowered back to ambient atmospheric pressure, so that the vessel can be opened safely. Almost any food that can be cooked in steam or water-based liquids can be cooked in a pressure cooker.

In an Indian kitchen, a pressure cooker is an essential tool. An entire meal can be prepared in the cooker and many cooks including my mother do exactly that. Rice and the dal of the day are cooked together, saving both time and fuel. Many recipes, including mine, have the number of whistles from the pressure cooker as part of the recipe. For example, how many whistles to cook rice, dal or even chana is something a mother would impart to her child who is starting out using the pressure cooker. Every Indian child has memories of being woken up to the sounds of the cooker whistling or children and infants startled by the sounds. I remember BB & GG being so scared of the whistles from the cooker when they were infants and toddlers that I used to make sure I am around them to soothe them when this happened.

The early pressure cookers used to explode because of spurious spare parts and one of the original pressure cooker manufacturers in India, Prestige realised that while they could not counter the spurious spare parts sold by dealers across a country as large as India, they came up with a solution that would prevent the cookers from bursting even if spurious spare parts were used — the Gasket Release System. How this worked was whenever the cooker was overloaded or the safety valve blocked, the rubber ring or the gasket would be pushed out through a slot in the lid, thus releasing the excess steam.

Pressure cookers have many benefits. Cooking in a pressure cooker ensures that food retains most of their nutrients and are tastier. This is because food is cooked quickly and on high heat using minimal liquids which means food is less likely to lose its colour and nutrients. Pressure cooking is far more efficient than using multiple pots on separate burners and can result in significant energy savings. They are also best for one-pot recipes. Cooking time is greatly reduced as foods cook up to 70% faster when a pressure cooker is used, making it a handy tool to quickly get the meal on the table. Because you can do one-pot cooking in a pressure cooker, it is easier for clean-ups as there are fewer utensils to clean.

There is even a Pressure Cooker Baba temple in Siachen, close to India’s borders. The story behind it says that a pressure cooker in an army post on the glacier attracted a Pakistani heat-seeking missile, saving the soldiers it was aimed at. In gratitude, they built a shrine at the spot.

Today electric pressure cookers are taking over and in the distant future, the ubiquitous pressure cooker, a staple in every Indian home may find itself extinct, but till then, let’s celebrate and enjoy this kitchen gadget that has made so many yummy dishes for us.

Recipes: Apple Chutney

I love chutneys and regular readers will know by the number of chutney recipes in the recipes tab. Also, chutneys are extremely versatile and so easy to experiment with that I do make them because I like experimenting in the kitchen. Also chutneys go well with so many dishes – slather it on bread and make it a sandwich or eat it as an accompaniment to the myriad breads available in the Indian cuisine as well as rice.

I saw a version of this recipe on a local channel and was intrigued by the usage of apples. Though I have made a Green Apple Chutney, this chutney cooked the apples, which was different. I tried and twised it a bit as I am wont to do.

Apple Chutney

Ingredients:

  • 1 medium sized onion, chopped
  • 1 medium sized tomato, chopped
  • 1 red apple, chopped
  • 1 green apple, chopped
  • 1-inch piece of ginger
  • 5-6 cloves of garlic, minced
  • 3-4 dried red chillies
  • 1 tsp cumin seeds
  • 1 tbsp oil
  • Salt to taste

Method:

  • Heat oil in a pan and when it warms, fry the cumin seeds till they pop. Then add the ginger and garlic and fry them till they start to become slightly crispy. Then add the dried red chillies and let them cook for a minute or so.
  • Now add the onions and fry them till they become translucent. Next add the tomatoes and cook them till they start to become mushy.
  • Add add the chopped apples, and let them cook till they start to lose their shape.
  • Switch off the gas and let it cool completely.
  • Blend to a smooth paste, adding water as needed. Check for seasoning and salt as needed.

Eat this as a spread for sandwiches or as an accompaniment to Indian breads. This chutney was a huge hit at home and had a slight sweet undertones because of the red apples. By adding the green apple, it gave a slight tartness, which can be done away with if you want it as a sweet chutney. Just replace the green apple with a second red apple.

Recipes: Gujarati Khatta Mung aka Whole Green Gram Dal in a Buttermilk Gravy

Dal is a staple in most indian households with some variety of the protein packed dish made across the country. So, in order that we don’t get bored with the same kind of dal, I am always on the lookout for interesting takes and variations.

I saw this dal in one of my friend’s Facebook posts and it looked interesting enough to try it. My version may not be the most authentic one, but I enjoyed making and eating the dal. This is a staple in most Gujarati households, but you won’t find this in most restaurants. So let’s see how this is made…

Gujarati Khatta Mung aka Whole Green Gram Dal in a Buttermilk Gravy

Ingredients:

  • ½ cup whole green moong dal, soaked for 4-6 hours
  • ½ to 1 cup yoghurt
  • 2-3 tbsp gram flour or besan
  • ¼ tsp turmeric powder
  • ¼ tsp asafoetida
  • 1 tsp mustard seeds
  • 1 tsp cumin seeds
  • 5-6 curry leaves
  • 1-inch piece of minced ginger
  • 2 green chillies, slit lengthwise
  • 1 tbsp oil
  • Salt to taste
  • Coriander leaves, finely chopped to garnish

Method:

  • Drain the soaked moong dal and in a large pan, cook the soaked and drained moong dal with just enough water to cover it for about 5-7 minutes until it is just cooked and tender. Make sure it does not get mushy.
  • In a separate bowl, whisk the yoghurt well and add the gram flour, turmeric powder, asafoetida, some salt and about a cup of water and whisk till it is smooth with no lumps. Keep aside.
  • Heat oil in another pan and when the oil warms, add the mustard seeds and let the seeds crackle. Then add the cumin seeds and stir for a couple of seconds, followed by the curry leaves. Stir till the curry leaves start to become crisp. Then add the slit green chilles and the ginger and saute for about 30-40 seconds.
  • Now add the cooked moong dal into this tempering and then the yoghurt gram flour mixture and allow everything to come to a nice rolling boil. Let this simmer on a low flame for about 5 minutes.
  • Check for seasoning and add salt if needed.
  • Turn off the flame and garnish with finely chopped coriander leaves and serve hot with rice and a simple vegetable stir fry for a homely lunch.

Recipes: Roasted Cauliflower and Potato Soup

These days we don’t eat rice on Sundays and so I am constantly on the look-out for recipes which we eat, mostly western dishes. One weekend, with an almost bare fridge, I decided to make a cauliflower and potato soup and decided to kick it up a notch by roasting the cauliflower first.

The soup was incredibly creamy and so filling. It also seemed to me to have a slight taste of mushroom soup and this was corroborated by BB & GG who loved it! I will be making this again and this will be added to my repertoire.

Roasted Cauliflower and Potato Soup

Ingredients:

  • 1 head cauliflower, cut into florets and kept aside
  • 1 large potato, peeled and chopped
  • 1 large sweet potato, peeled and chopped
  • 1 medium sized onion, chopped
  • 5-6 garlic cloves
  • 10-12 cashew nuts
  • Salt and Pepper to taste
  • 1 tbsp butter
  • 2-3 tbsps Olive oil

Method:

  • Preheat your oven to 200 degrees celcius.
  • Line a large tray with either baking paper or aluminium foil and spread the chopped cauliflower in it. Drizzle about a tbsp of olive oil and then some salt and pepper and mix well. Pop it into the oven to roast for about 20-25 minutes or until the cauliflowers start to brown. Remove and keep aside.
  • Heat the balance oil and butter in a large saucepan and when warm, add the galic cloves. When the garlic starts to brown, add the cashew nuts and stir for a few minutes.
  • Then add the chopped onions and stir until the onions are translucent.
  • At that point, add the chopped potatoes, some salt and cook covered until the potatoes are done, stirring every few minutes.
  • Let everything cool down and then blend it to a smooth paste in a blender. This works best with a proper blender and an immersion blender may not make it as creamy as we want it to be.
  • Once it is smooth and creamy, bring this back to the saucepan and bring to a boil. Season as needed with salt and pepper and serve hot with bread croutons.