Please read Part 1 before continuing to read Part 2
Before the sumangalis come, the house is decorated with rice flour rangolis and the lamps are lit in the home altar. Two separate big silver lamps called kuthu villaku are also kept ready to be lit just before the function starts.
When the sumangalies come, we welcome them and give them haldi and kumkum as well flowers to keep in their hair. Then the lady of the family (aka me) lights the big kuthu villakkus. We kept each lamp next to an altar, one each for a sumangali and the young girl. The altar was made using a small low stool (called palagai in Tamil) which has some rangoli done on it. On this is kept the nine-yard saree (which has been made madi in the morning) and the pavadai (for the sumangali and the kanya) and then a mirror is kept behind it in such a way your reflection is seen. This is so that any sumangalis or kanyas of the family who are dead, but who are present in the house at the time of the function can see themselves. We also decorate the mirror with a comb, haldi kumkum, flowers and some gold ornaments like chains, bangles etc. A small pooja is then performed and the entire family (including men if present) offer prayers to the ancestral women of the family and seek their blessings.
We then invite the sumangalis and the kanyas to sit down to eat on plantain leaves. Two leaves, one on top of the other lightly apart, is also kept for the God (called Swami Elai) which in some families, one member of the family would then eat. Before the women sit down (they have to first stand in front of their leaves), the lady organising this function will call the names of all sumangalis in the family. If no names can be found (like in our case), we just call for all known and unknown sumangalis of the family to come and partake the meal. The invited sumangalis and kanyas are actually eating on behalf of the departed souls.
While serving, the food served has to be served to the swami elai first and then to the others in a clockwise direction. In my place, what we did was everyone helped in serving the dishes and then just before the rice was served, the sumangalis sat down to eat. After the rice is served, all the women and girls will have to be given a drop of water from a silver cup called Panchpatram which is a small silver cup with a spoon which men usually use for their gayatri mantram and sandhyavandhanam after they have their sacred thread on.
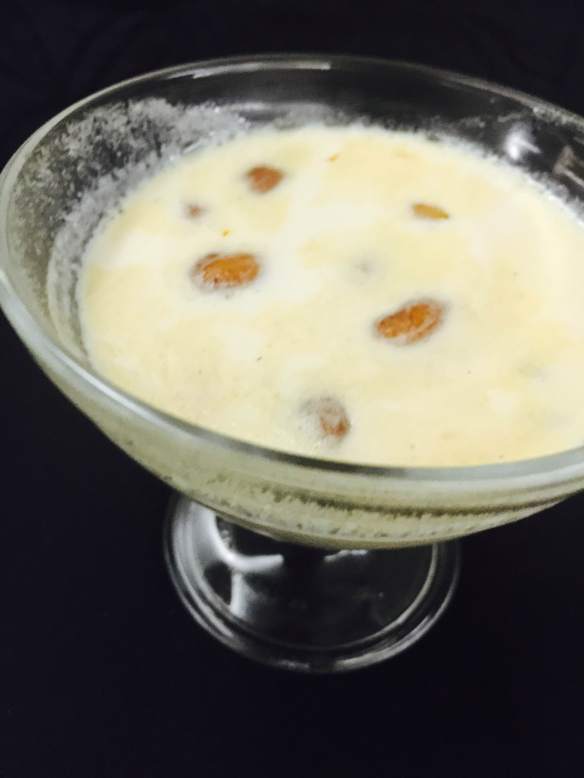
The menu is fairly traditional and so I prepared Paruppu payasam, sweet mango pachadi, grated cucumber pachadi, raw banana curry, beans curry, ash gourd kootu, snake gourd kootu, bitter gourd pitla, mor kozambu, Mysore rasam, plain white rice, urad dal vadai, boli, panagam, neer mor (like a thin buttermilk) and a chutney made with curry leaves. My mother-in-law made the pitla at her home and also the dough for the vadai and boli which we then made in my home. A mix of sukku podi (dry ginger) and jaggery also will be kept, which is given to all after eating to enhance digestion.
Once the food is served, the lady organising the function willl do neivedhyam and show karpooram to the pudavai ilai and all the people from the host’s family will put flowers on the pudavai ilai and do namaskarams to that. Generally while putting flowers elders will tell us to pray for a wish to happen and then do it. It is strongly believed that the wishes made during this time will be fulfilled.
Once the lunch is over, the lady of the house has to clean the leaves used for eating. Then the women are given pan to eat and also asked to apply the specially prepared turmeric and mehendi and also given flowera again. We also offer them haldi kumkum again and give them the saree/blouse/pavadai. This is actually optional, but since this was the first time I was doing this, we decided to buy sarees for all plus pavadais for the little girls. I also gave them some money to make up for the lack of providing them with the oil, soap, shampoo that morning.
After this, the four of us (BB, GG, S & me) bowed down to the women and did namaskar to them and they blessed us with akshadai (rice made yellow with some turmeric which is very auspicious). They also blessed BB for his poonal and then left. We then sat down to eat.
By the time everyone went home and I was able to put my feet up, I was up on my feet for almost 12 straight hours! I was super exhausted that day.
I hope with this post, I’ve been able to shed some light on the customs of our community. This post is also a reminder for me if I have to do this another time on this function and also for BB & GG in the future. If you have any questions or comments, please feel free to comment below….


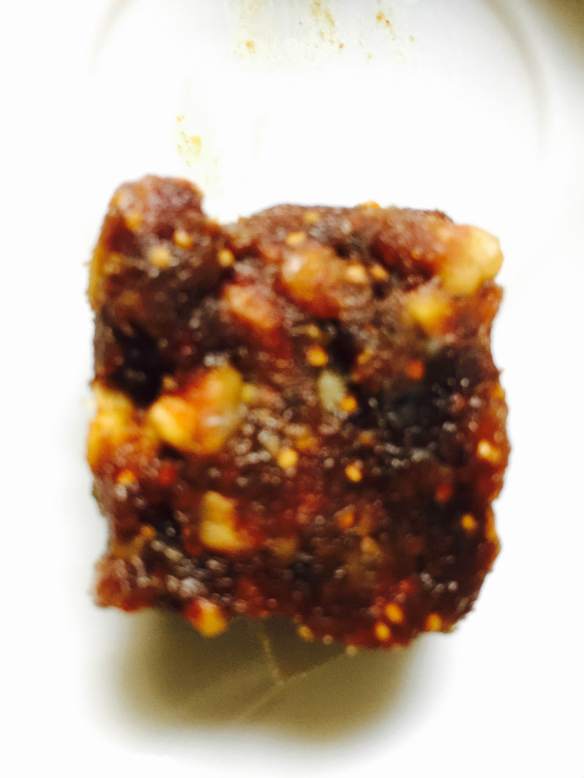
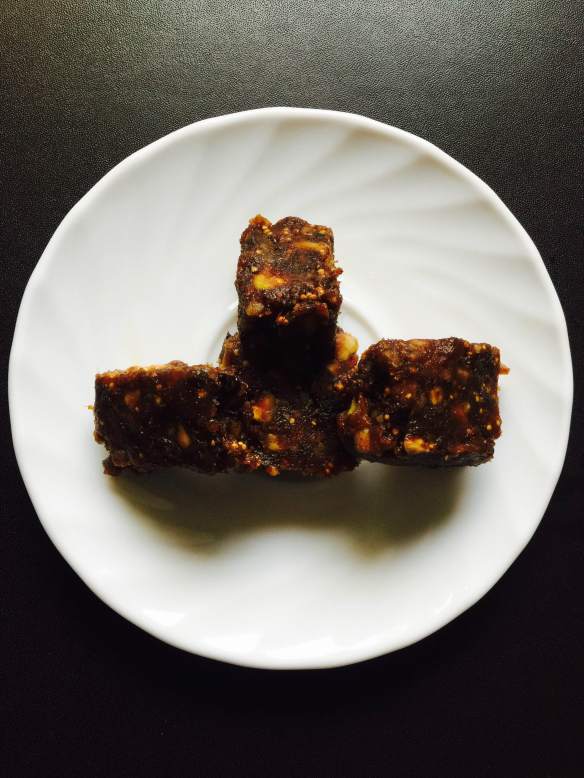

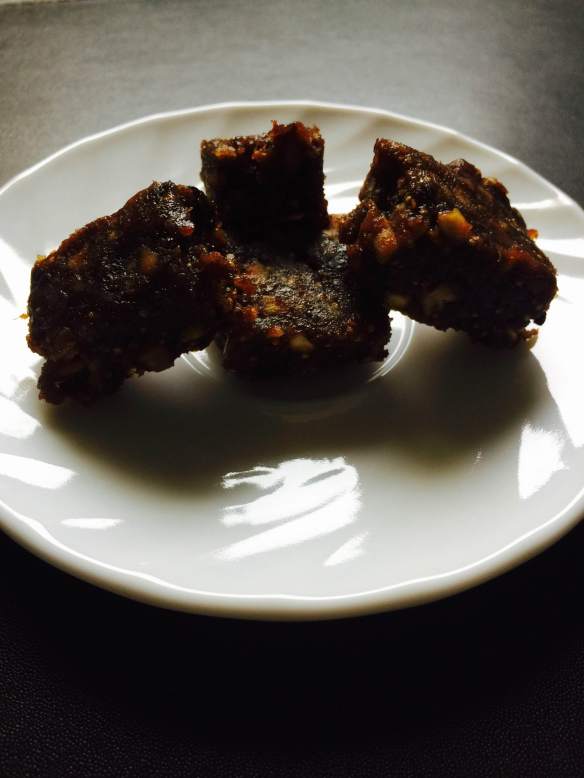
 This sweet is the favourite of everyone at home, especially the children and is my go-to recipe when I need to whip up a sweet for any festival. GG & BB love it so much that I have to hide some for S, otherwise, he won’t get any when he comes home from work! This is a very easy recipe but takes a little bit of time stirring if you want to get the rich taste.
 Semiya/Vermicelli Payasam